The blog section in the Divi theme does not have an option to place the featured image to the left in the Divi blog module. However, it can be adjusted manually and quite easily.
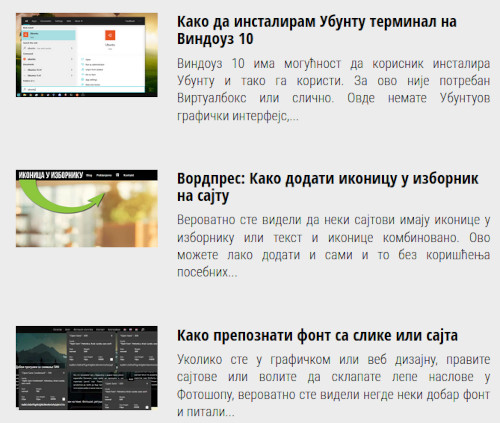
The goal is to make the display in the Divi blog module look like this, for the featured image to be on the left, while the title and text are on the right::
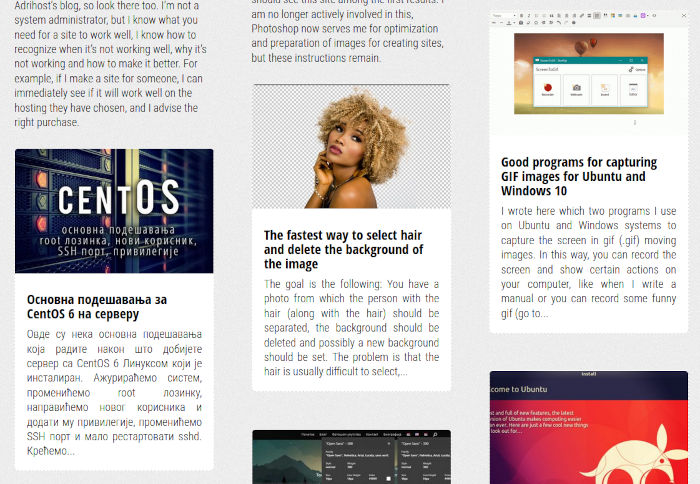
The Divi theme currently has two options and it looks like this, to display a grid with blog posts:
Or to display the full width of the text like this:

You can choose one of the offered options in the blog module settings:
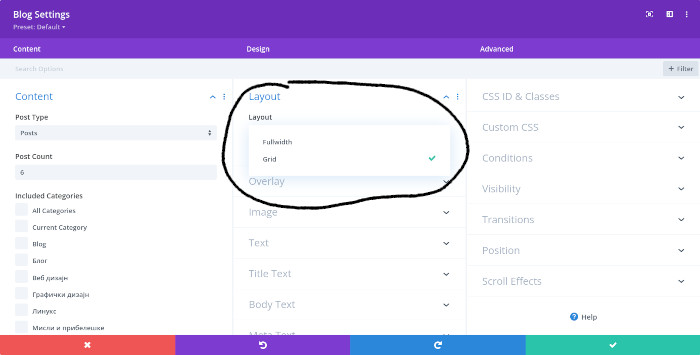
This is not bad, but what if you need to set featured image to the left in the Divi blog module?
It is possible and here is how to set featured image to the left in the Divi blog module:
Setting the featured image to the left in the Divi blog module
In order for the featured image to be displayed to the left of the text in the Divi blog module, you need to add new CS code.
This is not difficult and even a beginner can do it, I promise.
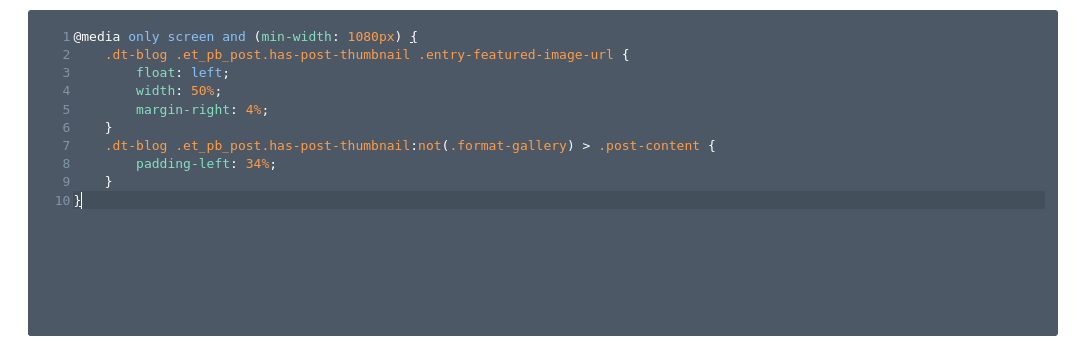
Copy this code:
@media only screen and (min-width: 1080px) {
.dt-blog .et_pb_post.has-post-thumbnail .entry-featured-image-url {
float: left;
width: 50%;
margin-right: 4%;
}
.dt-blog .et_pb_post.has-post-thumbnail:not(.format-gallery) > .post-content {
padding-left: 34%;
}
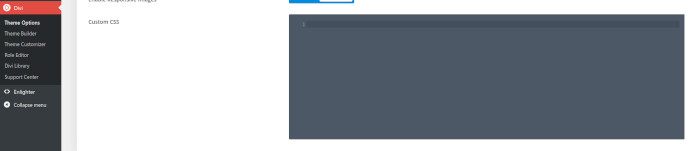
}Now go to your WordPress site – Divi – Theme Options:
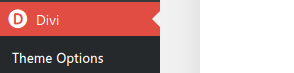
Scrool down and find Custom CSS field:
Paste the code into that field.
Click od the Save Changes button:
Now go to the page where you want to set the Divi blog module to display the featured image to the left of the text.
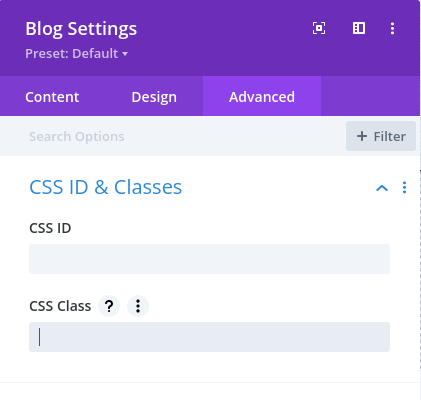
Start editing the page with the Divi builder option. Go to the Blog settings, click on the Advanced tab, click on CSS ID and Class.
In the CSS Class fieal white only: dt-blog
At the same time, the layout of the Divi blog module will change its appearance and the featured image will be aligned to the right of the text.