The faces of actors, photo models and models from magazines sometimes look perfect. The culprits are not creams and preparations, the culprit is some of the techniques of processing photos. About some of the techniques I have written, but you can find them in the menu at the top of the screen. In this article I will describe the simplest way of processing that involves only airbrush method.
What Airbrush do?
This technique corrects the irregularities of the skin in a simple and fast way. It is important to know that this does not remove the larger details (eg. The scars), but can be “sanded” small details to the extent that the facial skin appears shiny and clean.
This technique is good if you have a photo where you can quickly finish the job. Depending on your needs and desires, can be used in combination with other techniques, if it does not exceed the limits of visual beauty.
Photoshop Airbrush – step-by-step instructions with pictures
Open the image you want to do. This you can do by clicking on File – Open or the key combination Ctrl + O.
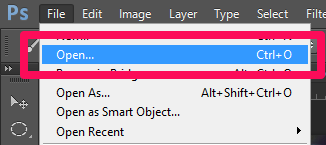
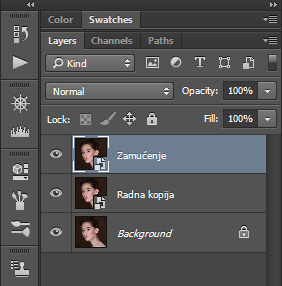
The image will open as a Background layer in Layers palette on the right side.

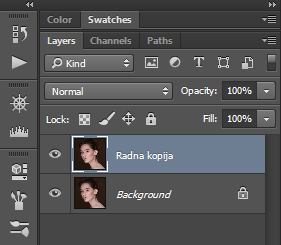
My regular practice is to leave this layer is always clean, and that never changes undertaken in this layer. I recommend this practice to you, and make a copy of this layer and rename it to a working copy. Duplicate the layer can be done quickly using the key combination Ctrl + J.
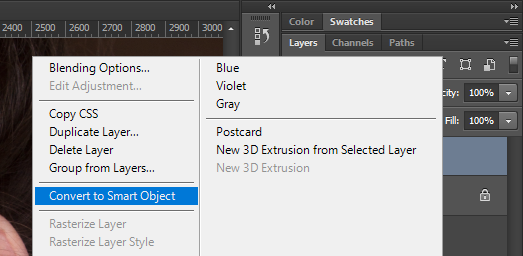
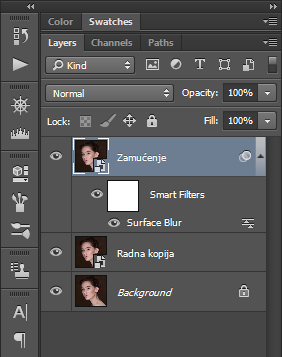
Click on the layer with right click and select Convert to Smart Object.
Duplicate this layer, and the way we did it a while ago. This layer can rename the name that will be easy to remember (such as Blur)
Click on the layer, then to Filter – Surface Blur.

We’ll add a little blur (a little more). Explore and set the Radius and Threshold so that the surface just enough to blur the loss of any irregularities, unevenness, pores …
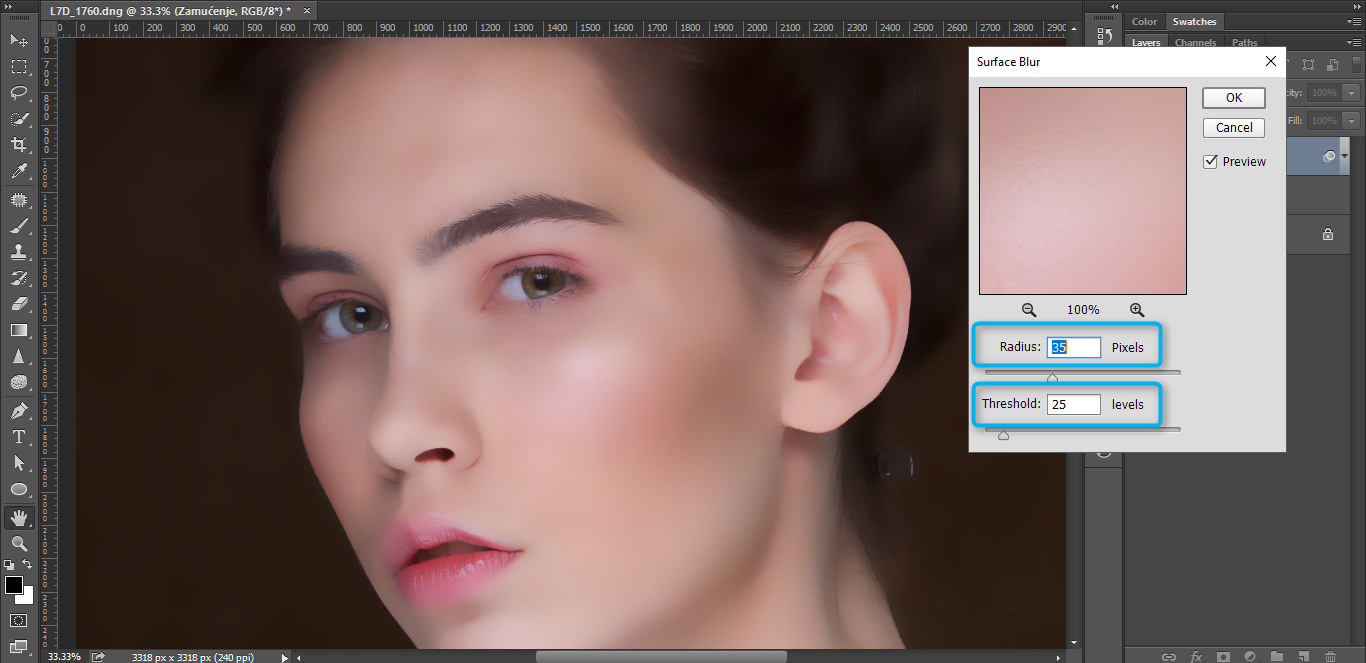
When you set the right balance, click OK and wait the process to be executed.
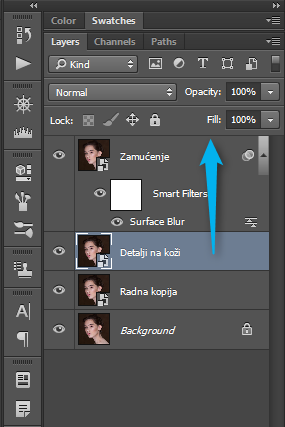
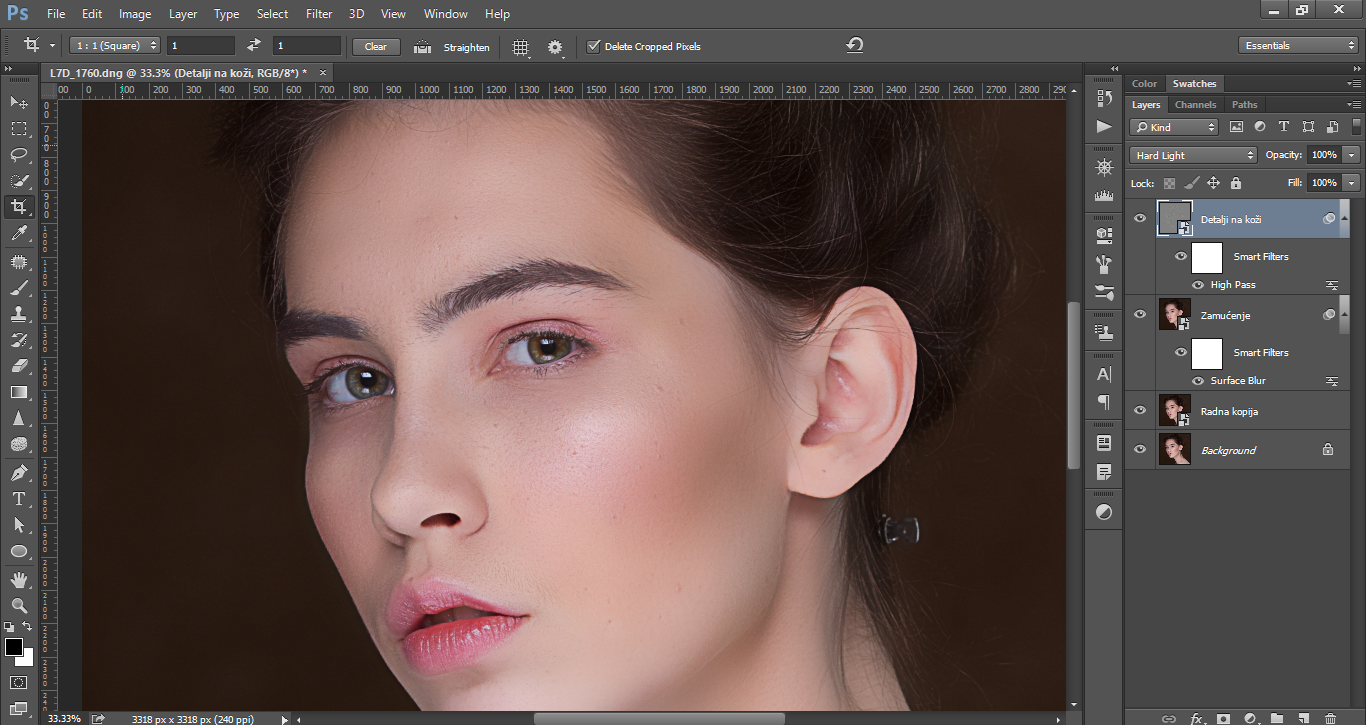
Make another copy of the first layer. Change the name of the copy layer in the “details of the skin” and drag this layer to the top, above all the layers.
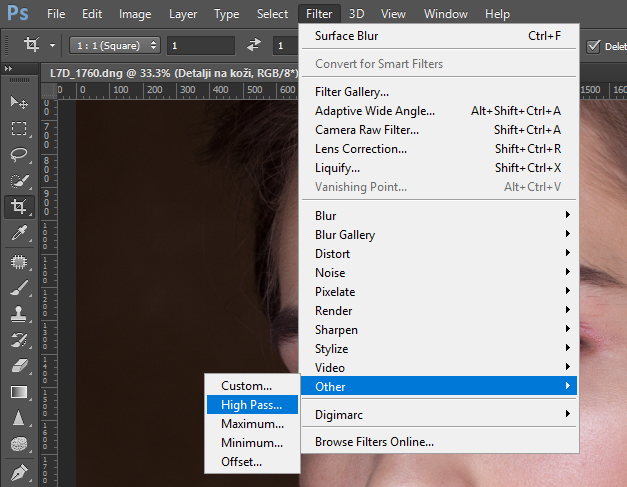
While this layer is selected, go to Filter – Other – High Pass …
Explore the value depending on the quality of your pictures and adjust Radius:
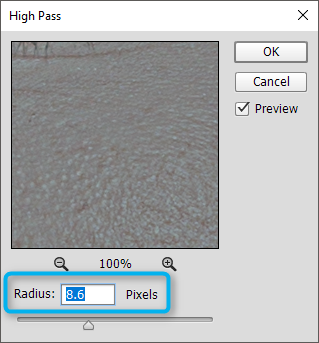
Roughly, you can see an example in the picture below:
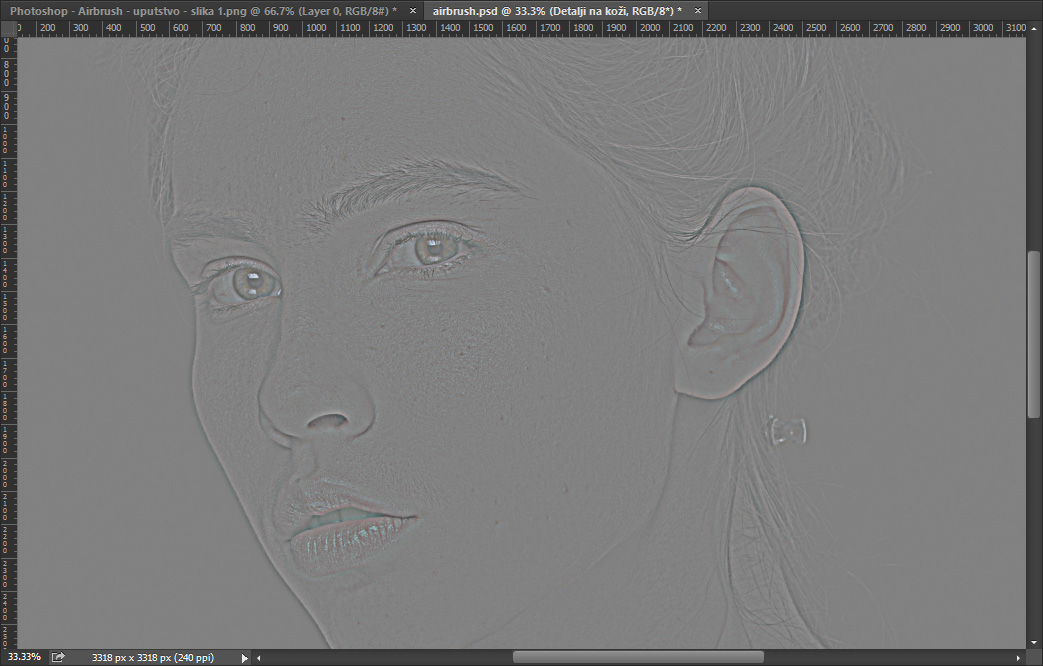
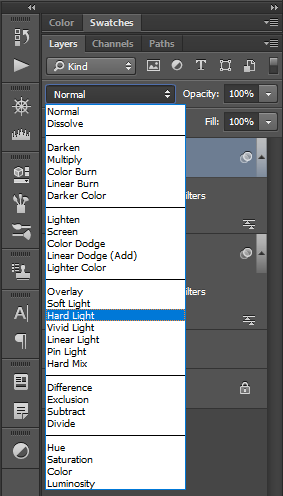
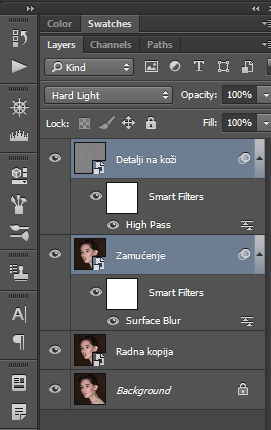
Layer Blend Mode set to Hard Light:
Complete picture should get a look similar to that seen in the figure below:
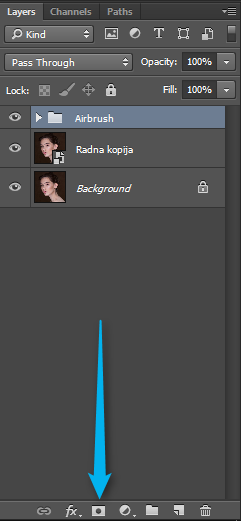
In the layers palette click on the Details of the skin, keep the Ctrl key and click on the blured layer. In this way, both layers will be selected at the same time.
When the two layers are already selected, make use Ctrl + G to put the selected layers to a group.
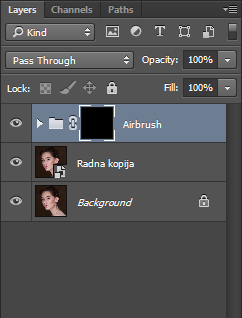
The group name can be set to Airbrush or however you like. While the group is selected, click on the button to add a mask:
In the Layers palette it looks like the image below:
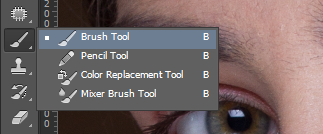
Activate Brush tool with a regular brush:
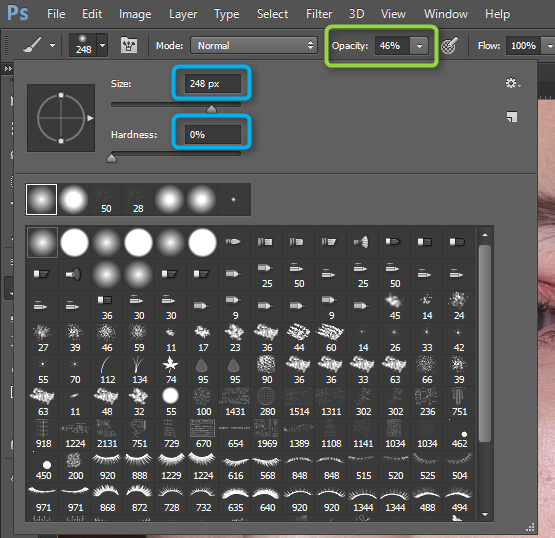
Select the brush, brush size, Hardness to 0%, Opacity to about 50%:
Slowly drag the brush over the parts of the skin that you want to treat it this way. If you drag several times over the same place, the effect will be stronger, so you can try until you find the right balance.
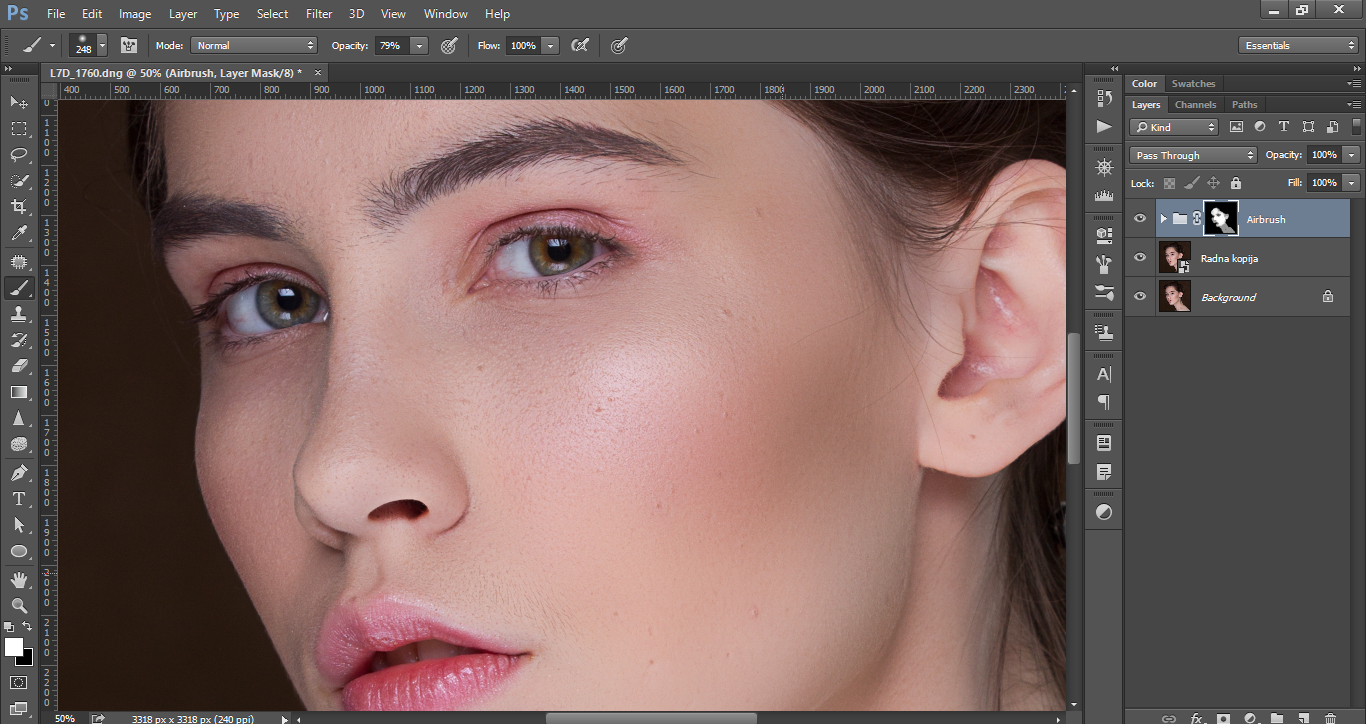
The result that I achieved when I was writing this guide, you can see in the picture below. Rate I used almost negligible, but it is present just enough that you can not say that the picture undertaken additional engagement software. The measure that you will use depends on your ideas and thoughts.