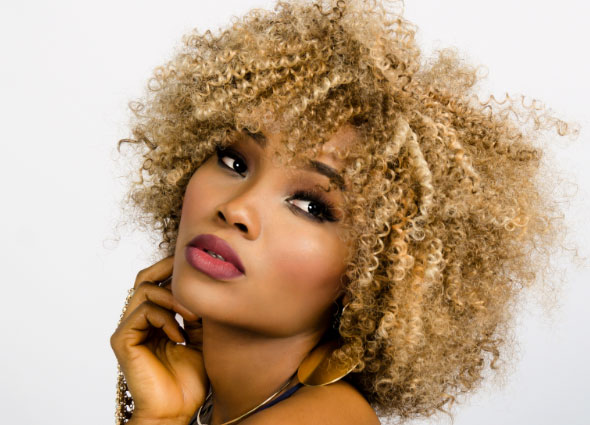
The goal is the following: You have a photo from which the person with the hair (along with the hair) should be separated, the background should be deleted and possibly a new background should be set.
The problem is that the hair is usually difficult to select, especially if it is curly hair through which parts of the background of the image can be seen. The possibilities are as follows:
- To spend hours selecting hair by hair and figuring out a way to get rid of the background
- To sacrifice a part of the hair and cut it together with the background
- To read this text to the end and learn how to separate the background from the hair in 2-3 minutes
Hair selection in Photoshop
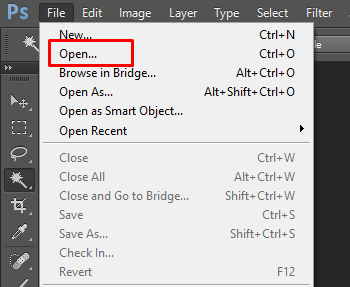
Open the image on which you want to select the hair and thus separate it from the rest of the image. You can do this using the shortcut Ctrl + O or in the menu at the top File-Open:
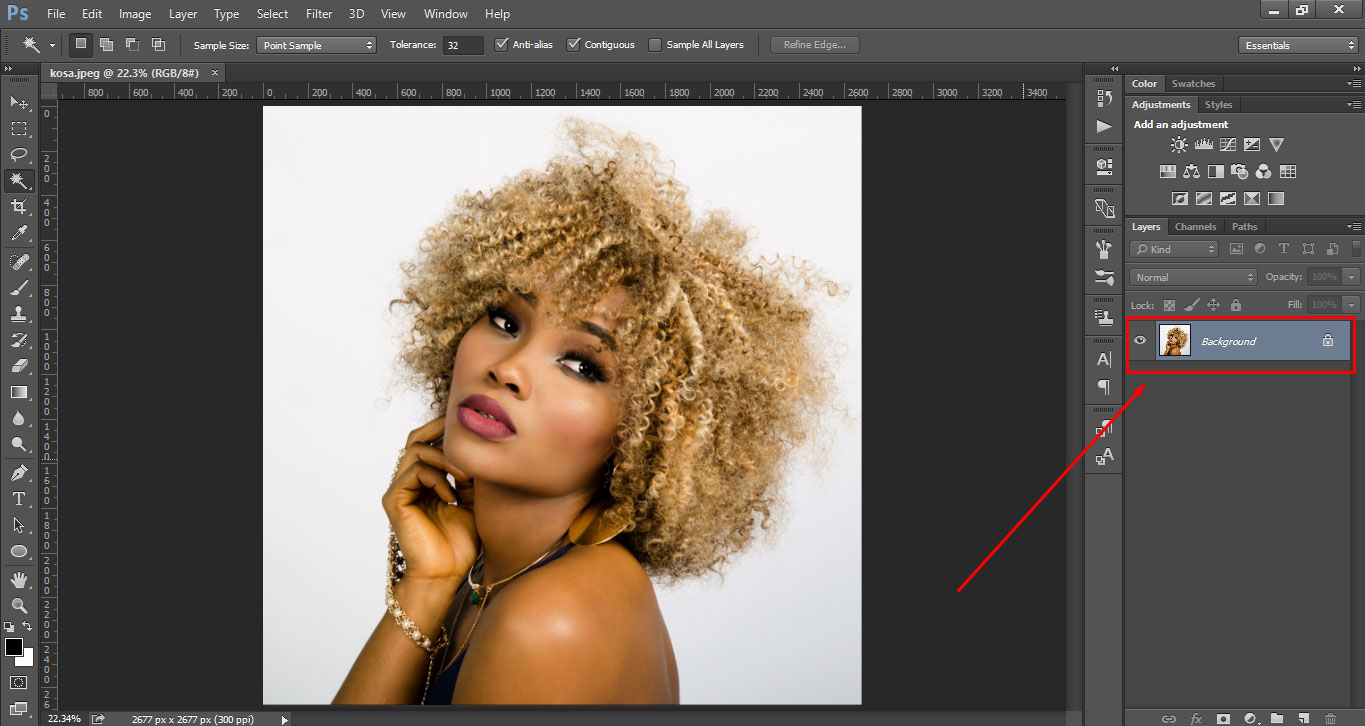
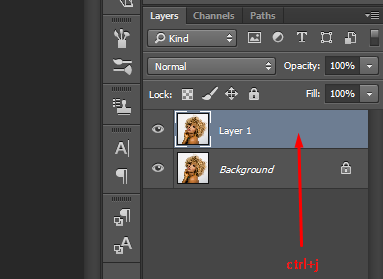
The image you open will be displayed as the base layer in the layer palette:
Click on the base layer and make a copy of it using the shortcut Ctrl + J (this copy has no role in our tutorial but can come in handy if you make a mistake):
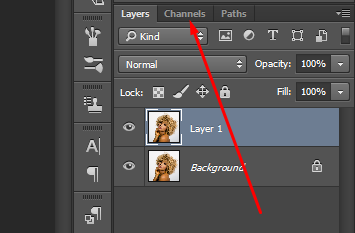
Select the layer you want to continue working with, and click the Channels tab:
Select the Blue Channel that has the highest contrast:
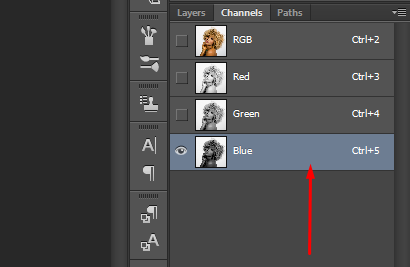
When the blue channel layer is selected, duplicate it (select it and select duplication in the options on the right click). Open the Levels settings with the keyboard shortcut Ctrl + L.
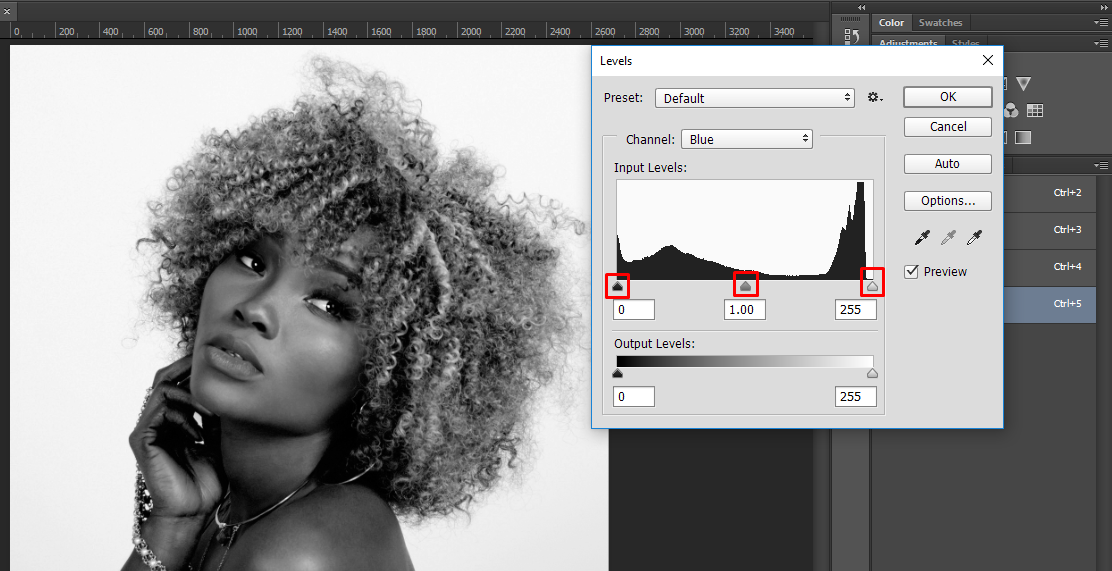
Move the sliders marked in the image above until you make as much contrast as possible between the background and the hair. Be careful not to lose parts of your hair, that is, make sure that both clear and thinner parts remain visible.
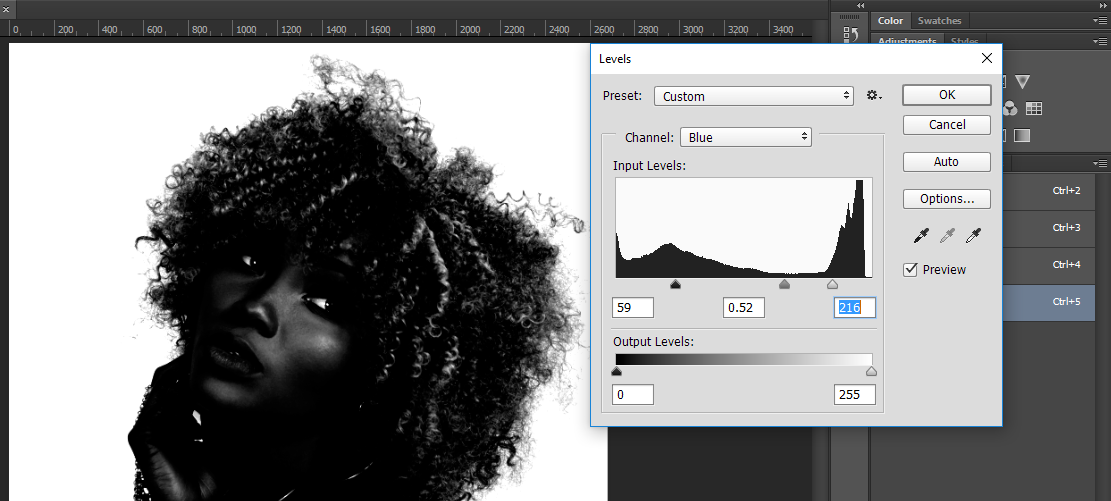
Pay attention to the picture below. You can paint all the internal parts with a black brush (eyes, lighter parts of the hair). The goal is to create an ideal situation for selection.
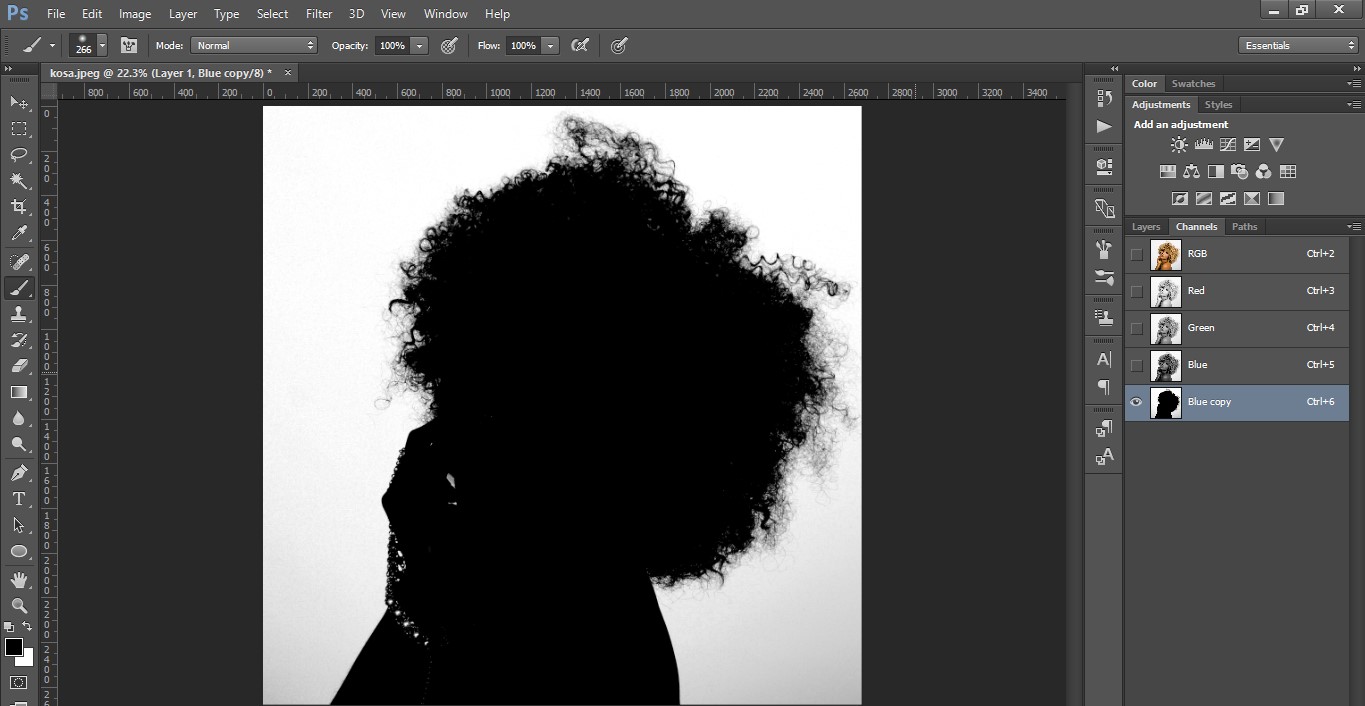
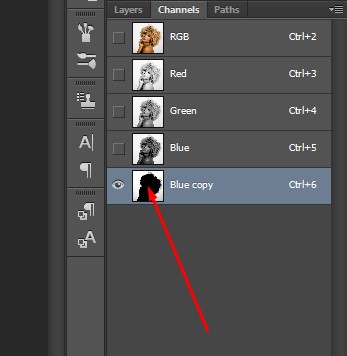
When everything is set up nicely, hold down the Ctrl key and click on the channel:
Return to the working layers by clicking on the Layers tab:
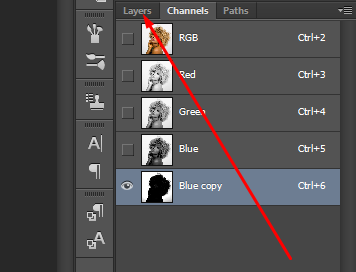
Select working layer:

Finally, press the Delete key and the background will be deleted (turn off the backup layer, otherwise the background of that layer will still be visible):
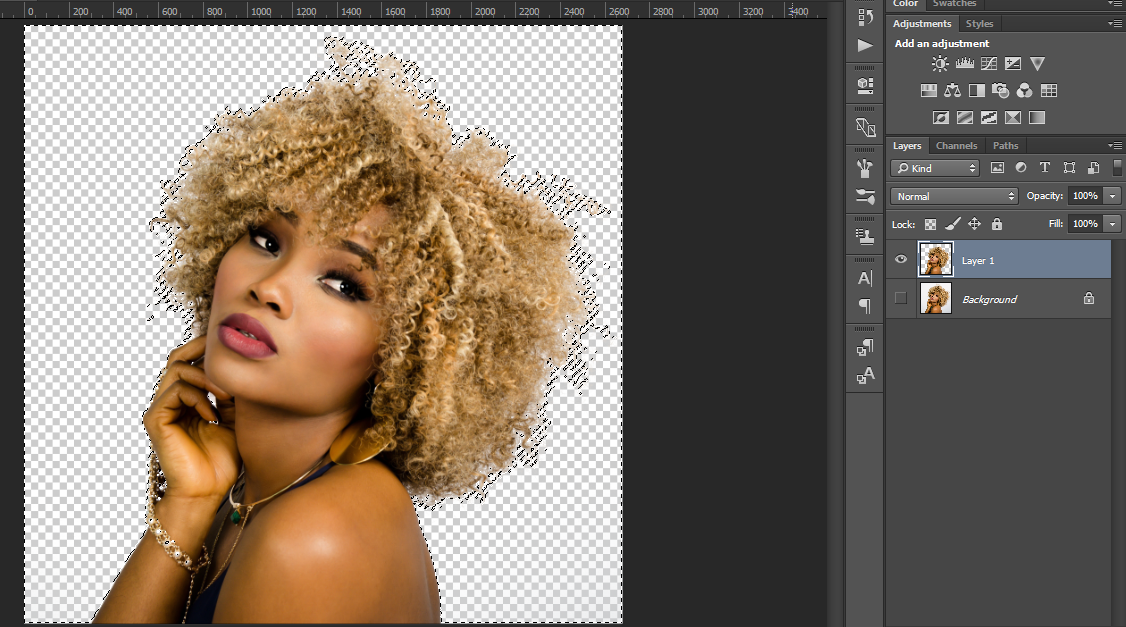
The result is a perfectly and quickly eliminated background:
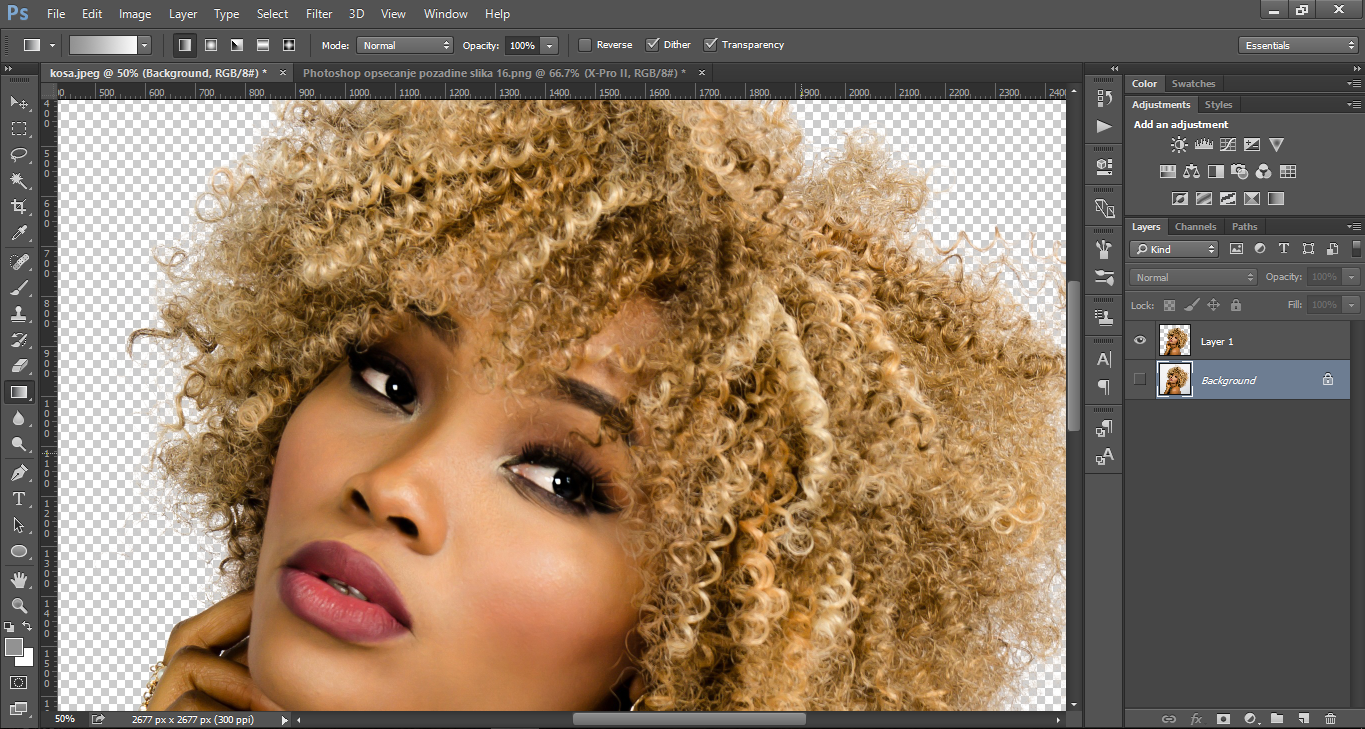
Depending on the conditions and the image you are working with, there is a possibility that you will have to correct some details or that you will not be able to apply this instruction in full. You have probably noticed that the image I used is simple and that it is easy to make a contrast, so it is easy to cut the background. This is not always the case in work.
There are many different instructions on the Internet, so I strongly recommend that you try a few to gather some experience and know when to apply them, or when you need to combine tricks from several instructions and apply them in your work.
I plan to write a few more similar instructions on the topic of selection and trimming, so stop by this blog from time to time.