You’ve probably seen that some sites have icons in the menu or text and icons are combined. You can easily add this yourself without using special addon. For the contact page, you can add letter, phone handset icon, or to add a box icon for the gift page.
Here’s how to add an icon to the WordPress menu
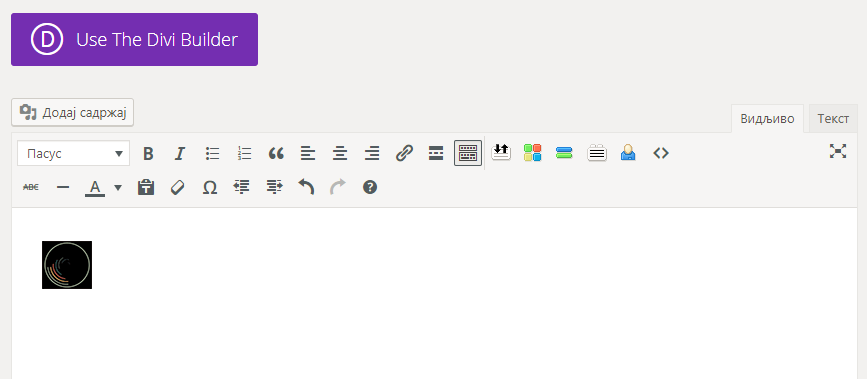
Find the icon that you want to add to the menu. You can find an icon on sites that allow you to download icons free of charge (see at the end of this text) or you can make it yourself. Once you have an icon, you can start creating a new text and instantly add an icon. It looks like this when the icon is added to the new article:

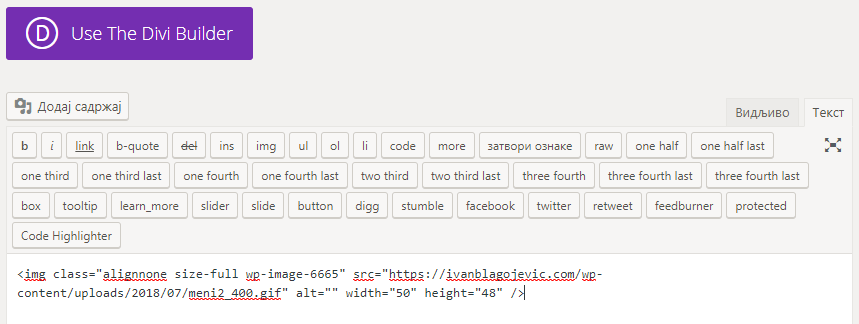
We do not need the article to be published, but we need the code that displays the icon. Click the Text tab (next to the Visible tab):

Copy the code you see here and close this article. It does not need to be published, so you can save it as a draft or delete it.
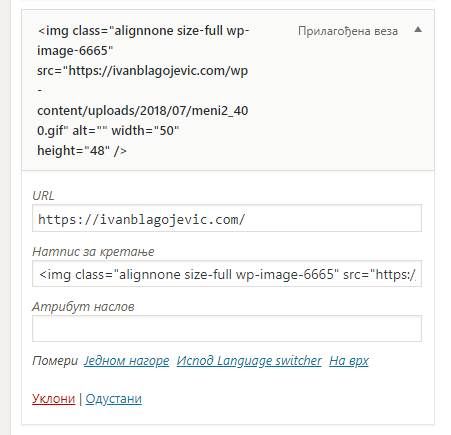
Go to Appearance – Menus. Add a new custom link. In the URL field, type the address on the page, and in the Link Text, place the code that you copied from the article, then click Add to Menu:

A new menu entry will appear. Then drag the entry where you want the icon to appear and save the changes in the menu.

In this way, you can add plain icons or gifs of moving images. Here’s what it looks like when you add an ordinary icon:

This looks like when a gif is added to the menu:

or like this:

Of course, if you need something like that. If you decide to use the gif, find pulsating letter (for contact form, for example) or create a textual effect in Photoshop and save that in gif animation. It’s usually nice and tasty to choose an ordinary nice icon that will unambiguously indicate what’s on the page behing icon.
Free icons for WordPress menu
Free icons can be found at flaticon.com site. It’s pretty easy here, select the icon, color and size and download it.


