Recording gifs on Mac (or any other system) is a great way to capture a screenshot or anything from a screen in motion pictures. The advantage over the video is that it does not take up much space and you do not need a video player – the gif is simply a moving image, like Harry Potter.

Which program to record gifs on Mac?
I think I tried just one or two and I stopped looking after Gifox. You can download Gifox here Gifox for Mac and install or download via the App Store:

Like many Mac programs, you also have a free and paid version. For my purposes, this free version is doing its job.
How to record gifs on Mac with Gifox?
When you launch Gifox, it will appear up in the panel at the top of the screen. From here you can work further. The program is quite simple, so in the left upper corner of the window that is seen in the picture below, there are two options:
- The first option is the ability to select a part of the recording screen by including it with the mouse
- Another option is to record a certain open window on the screen
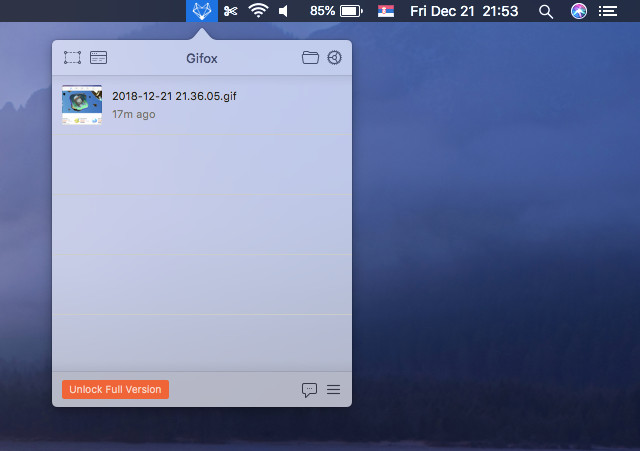
On the right side of that same window, from where you control the capture of gifs, there is a folder icon, when you click on that, open the folder that you specified to save the files you are recording. There is a gear icon that opens the Gifox settings next to it.
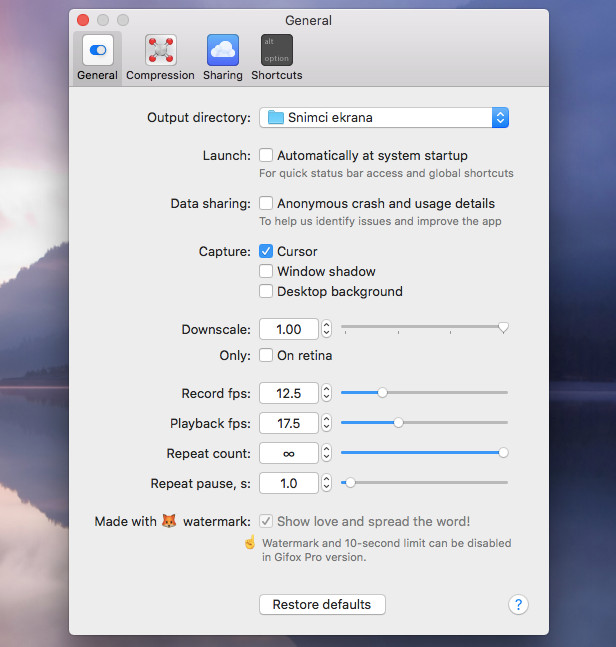
In the settings itself, I did not touch anything other than the location of the folder where the files will be stored, but you should check what you need to do from this:
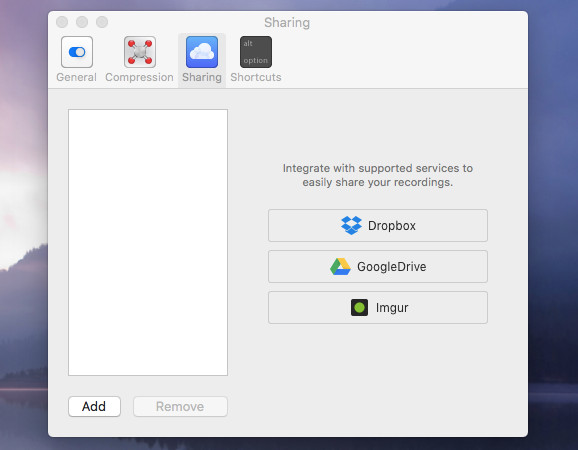
There’s also a tab with compression settings and keyboard shortcuts that you can set up, and you can add Dropbox, Google Drive or Imgur to share over these services in the Sharing tab:
How to record a gif on a Mac with Gify Capture
When you install Gify Capture to capture gifs on a Mac, run it and you’ll see a simple interface:
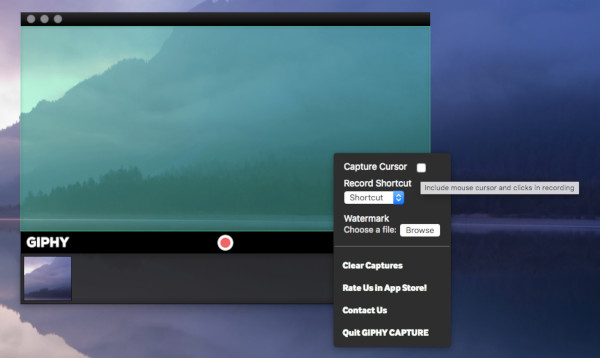
The main panel, green translucent, is the part that shows which part will be covered by the recording. You can change the size of this window to cover the different parts of the screen.
Of the additional options, there is one you can record the mouse cursor (convenient for the instructions), then set a keyboard shortcut you will use to start, add a watermark (eg your logo).
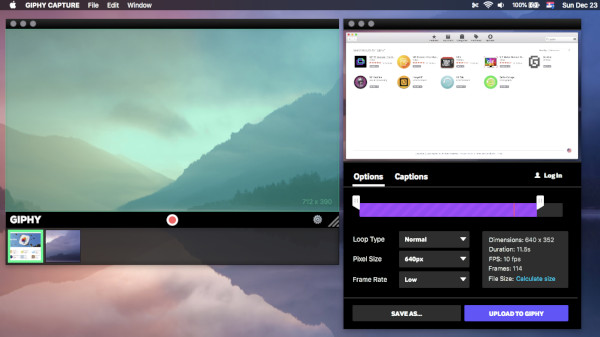
Once you record the gifs, they will stand in the pallet at the bottom of the screen. Clicking on a particular clip opens additional options with which you can export the finished gif. Of course, the options also allow quick changes in the size and mode of displaying gifs.
Recording gif shots on Mac, Ubuntu, and Windows
In one of the earlier text, I also recommended programs for recording gif of images on Ubuntu and recording gifs on Windows 10, this text is Good programs for capturing GIF images for Ubuntu and Windows 10, so with this text I will round up the story a bit.
Recording gifs is great for me to write texts, here or on the Adriahost blog, or even when I want to explain to my client better.
Keep in mind that you can correct gif shots in Photoshop or GIMP, but I will leave it for some new text.