MX Linux after installation and Where to start is a question that is often asked since this distribution took the place of the most popular operating system in the Linux ecosystem. Many users have not encountered the XFCE environment, so I have written a short text that will help any beginner to find a way.
If we look at Distrowatch we will see that MX Linux is the first among the best 🙂
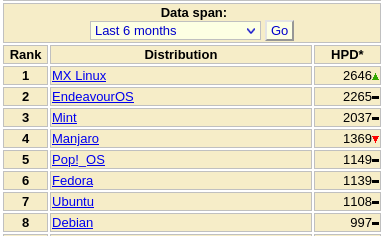
I will not bore you much with details and history. If you’re already on the path to using MX Linux, you should know that it’s based on Debian’s “Stable” branch, and that’s great.
My humble opinion why MX Linux has overtaken Ubuntu in popularity…
At the time when Ubuntu was the best Linux distribution (and that was before Gnome version 3) all users were happy because Ubuntu could adapt to anyone, become anyone, work fast and was stable by all standards.
We all know what happened next.
So, MX Linux starts its story where Ubuntu left off. Sorry folks, but MX Linux is everything Ubuntu has stopped being.
Gnome 2 was the best thing, but XFCE is even better. MXLinux is now stable, fast and responsive. All that Ubuntu gave up for experiments with Unity and Gnome 3. Apologies to Gnome 3 users as well, but Gnome is not for the desktop. Maybe it’s for a tablet.
But let’s be practical and show you what we’re here for.
First among the first – update your MX Linux
This is one of the more boring parts of the job, but it has to be done. If it’s any consolation, updating MX Linux is much faster and easier than it is with the Windows operating system.
If there is an update, you will receive a notification like this:
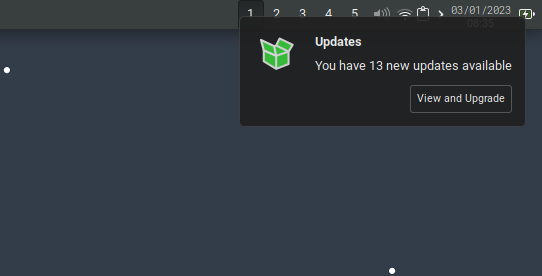
Click on the View and upgrade option, and after that, when a new window opens, click on the Upgrade button:
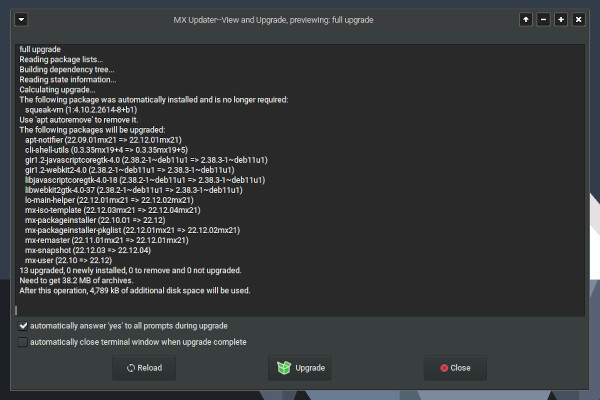
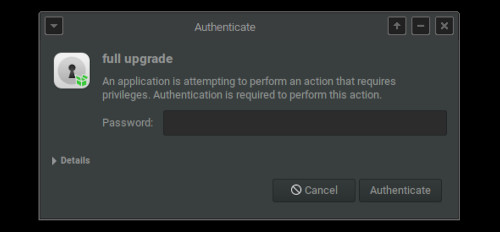
Enter your password when prompted.
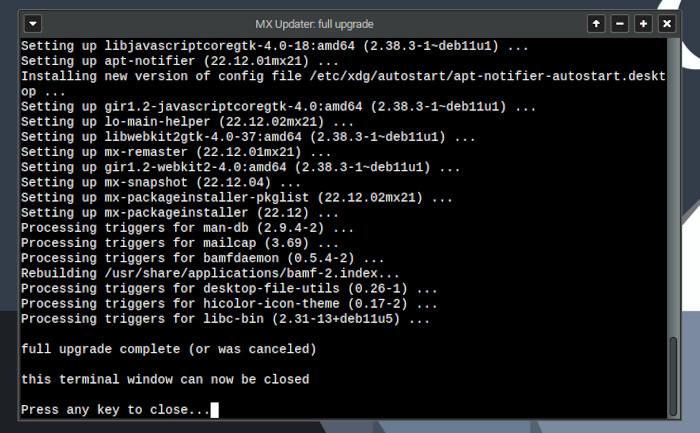
Wait for the upgrade to complete and then press any button on your keyboard when you see “Press any key to close…”:
Now we can proceed to do some important things on MX Linux.
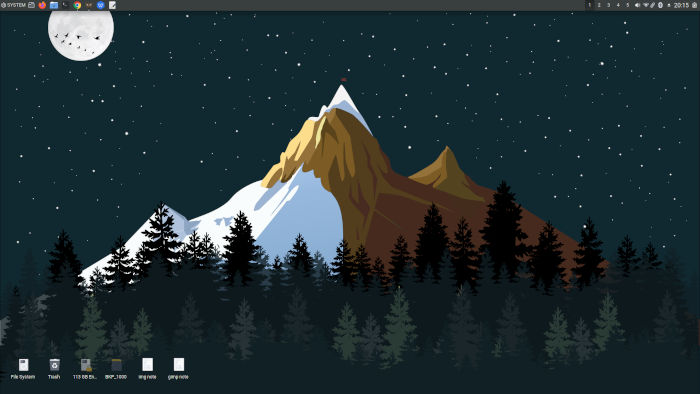
MX Linux XFCE is a bit ugly at first glance
The panel on the left is not something I’m used to, but it might work for someone.
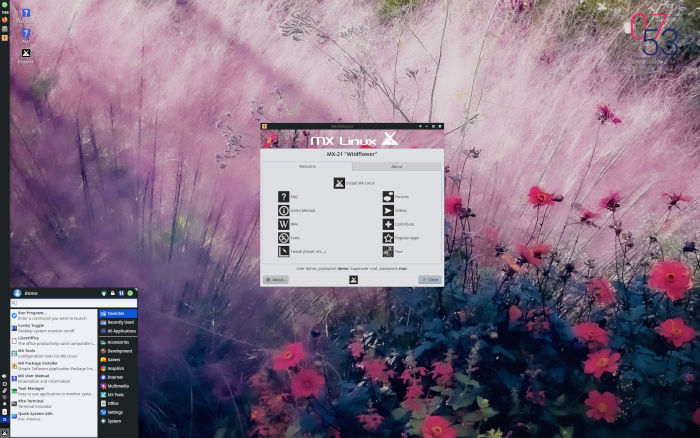
This looks, I believe, may bother many people, especially those coming from a Windows computer.
Fortunately, MX Linux is easy to configure and modify so you can set it up to your liking.
Here’s what I did and how I adjusted the appearance of the XFCE4 panel and desktop.
How to move MX Linux XFCE panel on top of the screen
We need an app called MX Tweak and it’s already installed (we don’t need to search and install it).
Click on the icon with the MX Linux logo and type tweak, open the application you find.
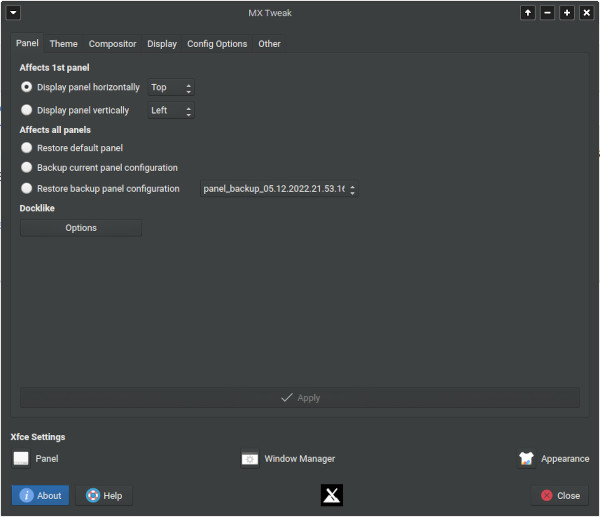
The first settings tab is related to the panel and there you can see the default settings:
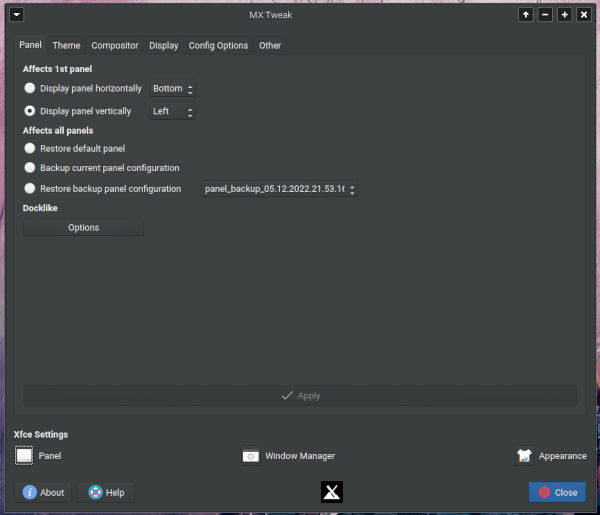
To make changes you need to select different settings. In case you change your mind, you can always restore the default panel setting with the “Restore default panel” option.
I set my XFCE panel on MX Linux to be at the top of the screen and that’s what works for me.
I recommend that you do the same because it is easier to look for the panel at the top of the screen instead of straining your eyes and dropping them unnaturally to the bottom of the screen.
To place the XFCE panel at the top of the screen, check the option “Display panel horizontally” and select Top from the drop down menu, then click on Apply:
This will bring the panel to the top of the screen and it looks like this:

I invested a lot more time to set up my panel, so I will also write an additional text on how to set the menu with the icon of your choice and how to set the details that will make the XFCE4 panel more beautiful.
For starters, moving the panel to the top of the screen is enough and useful.
The next thing you can do on MX Linux after installation is:
Change theme on XFCE environment in MX Linux
Do not close the MX Tweak application. Right next to the “Panel” tab there is a “Theme” tab, there you can change and choose a new theme for the appearance of your operating system:
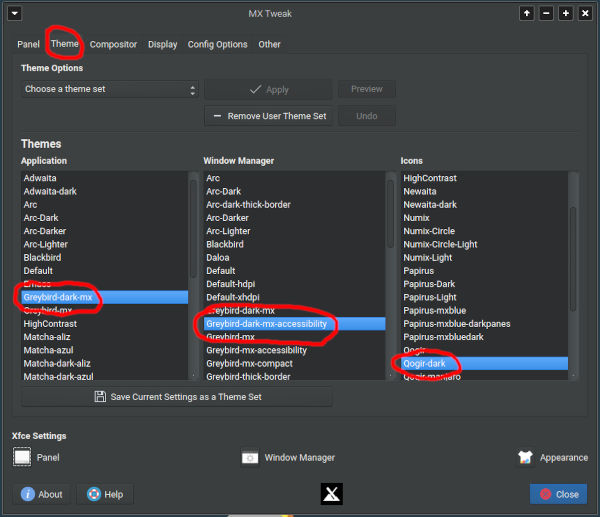
My choice is:
- Greybird-dark-mx for Application
- Greybird-dark-mx-accessibility for Windows manager
- Qogir-dark as theme of Icons (below is the link to the tutorial)
Check: How to install Qogir icon theme on MX Linux.
You can save your selection as a set of settings and activate it next time with one click:
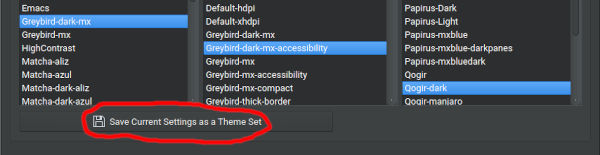
This way you can save multiple combinations of your choice and activate them next time:

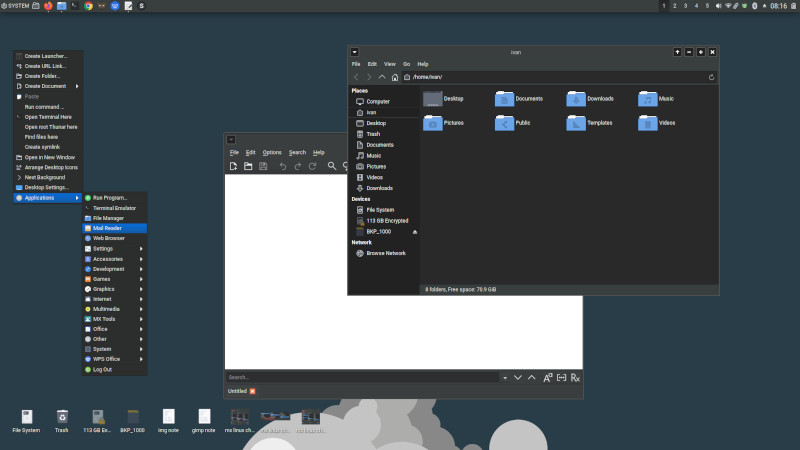
Here is what this combination looks like:
Let’s see what else we can tweak.
The next thing you can do on MX Linux after installation is:
Please update your MX Linux – here is how to do that
MX Linux comes with an application that runs with the operating system. This application checks if there is an update for MX Linux and notifies you about it by displaying a bubble in the upper right corner of the screen.
In case you want to manually check if there is an update, right-click on the icon from this panel:
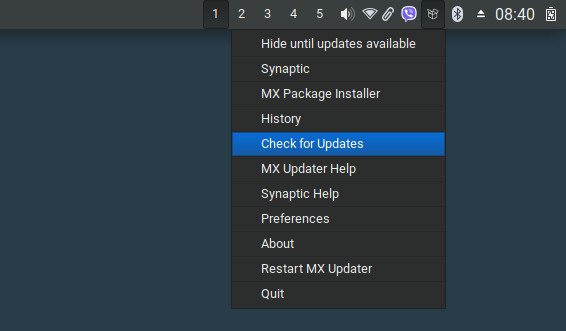
and select Check for Updates.
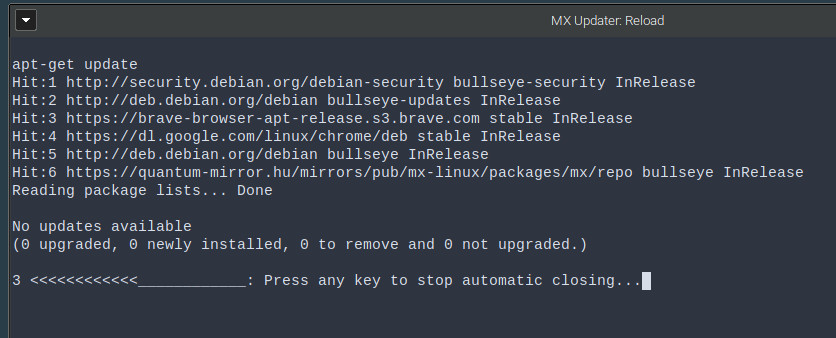
In case there is no update, you will see a screen like this:
If an update is available, you will get the option to start the update and install new packages.
The next thing you can do on MX Linux after installation is:
Enable or disable single click or duble click on MX Linux XFCE
By default, MX Linux opens files with one click in the File manager and on the desktop.
If you want to use double-click to open files on MX Linux, you can easily turn it on.
Open the MX Tweak application again and uncheck the following options:
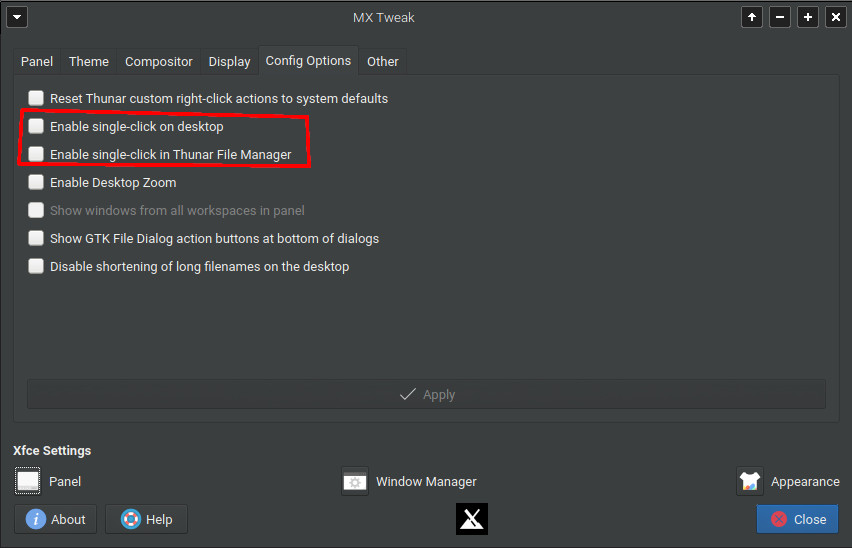
The options marked in the image should be unchecked, to be able to use double click to open files on MX Linux XFCE.
Default icon alignment to Desktop (XFCE)
This is easy to do on MX Linux, so to align the desktop icons do the following:
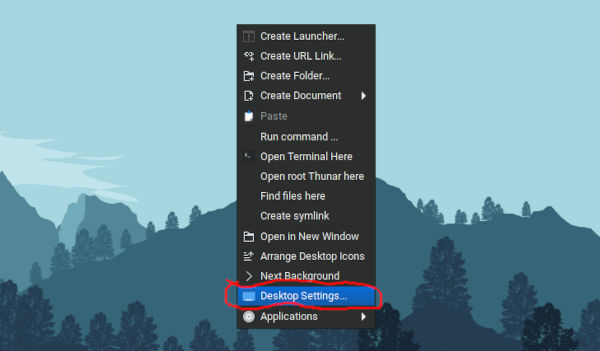
Right click on the desktop space and select Desktop Settings:
In the window that opens, look for the Icons Orientation option. Right next to that option, choose the position of the icons on the screen that suits you.
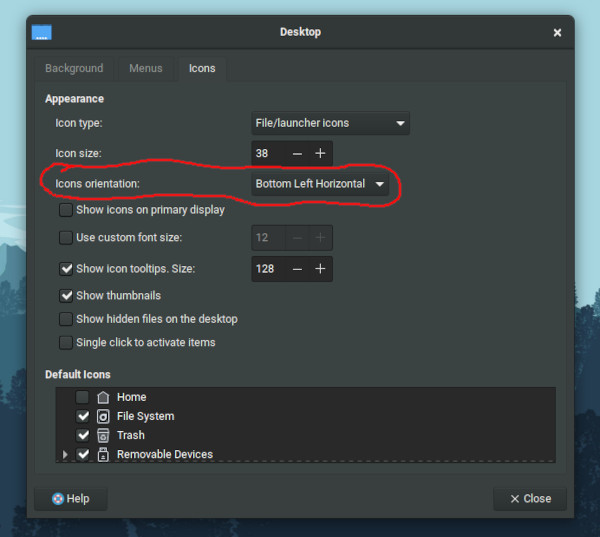
In this same window, you can also set several other options related to icons on the XFCE desktop, for example: Icon size, Show icons on primary, Use custom font size, Show icon tooltips, Show thumbnails, Show hidden files on the desktop, Single click to activate items and you can select which icons you want to be displayed on the desktop by default.
The next thing you can do on MX Linux after installation is:
Install cool mouse cursor on MX Linux
Here I have a special note on how to install a great mouse cursor theme: Change mouse cursor theme on MX Linux.

The text shows one theme (and it’s excellent), but the procedure is the same for all other cursor themes for MX Linux.
Install DropBox on MX Linux for file storage and sharing
DropBox is a great tool that will help you save important files off your computer (useful if something happens to your computer) or simply share files with other people.
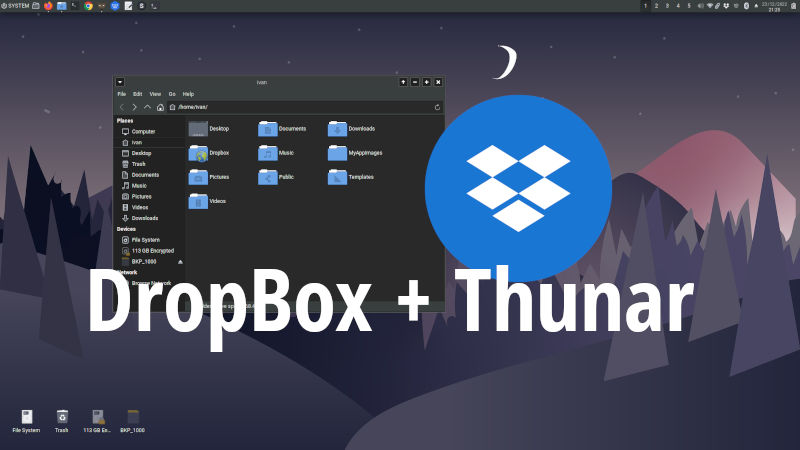
Here is my article for How to install DropBox on MX Linux XFCE.
Keep in mind that you need to install the DropBox application on MX Linux as well as the Thunar integration in the right click menu.
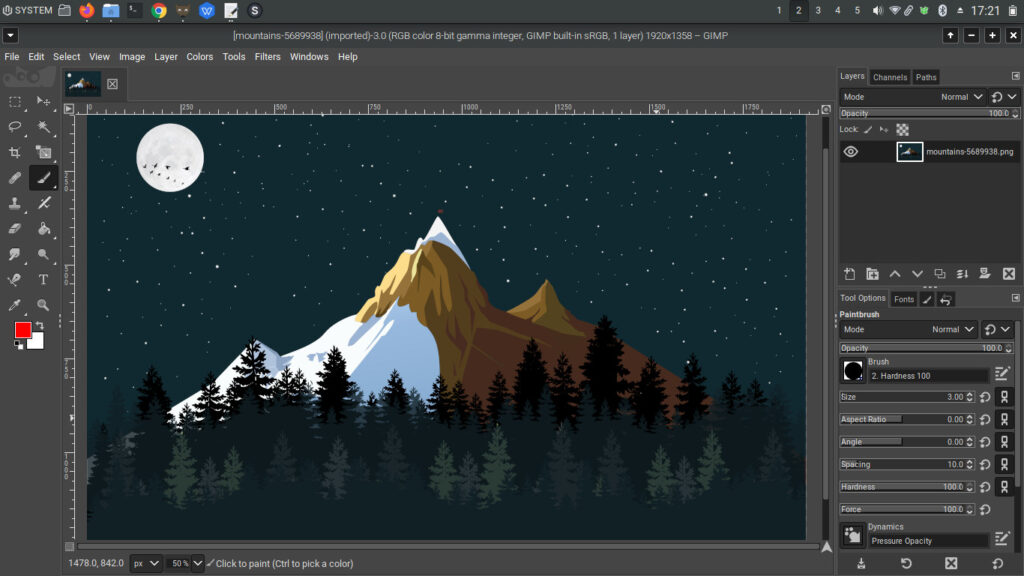
Install GIMP on MX Linux
GIMP is a great free alternative to Photoshop on MX Linux. Not only is it free, but it’s probably the best alternative to Photoshop.
You can easily install GIMP on MX Linux, then open Terminal and type:
sudo apt update && sudo apt install gimpThis command will do an update and refresh all packages and then install GIMP.
Not everyone likes GIMP, its appearance, so something can change there, read on:
How to make GIMP look like Photoshop on MX Linux
Here’s a quick and easy tutorial for changing the appearance of GIMP: Make GIMP look like Photoshop.
Gimp will not only look similar to Photoshop, but it will be more beautiful.
Install Viber on your MX Linux Desktop
Viber is a great messaging app and you don’t just have to use it on your phone.
You can use Viber on your desktop computer simultaneously and in sync with your phone!
Here is the article How to Install Viber on MX Linux.
The next thing you can do on MX Linux after installation is:
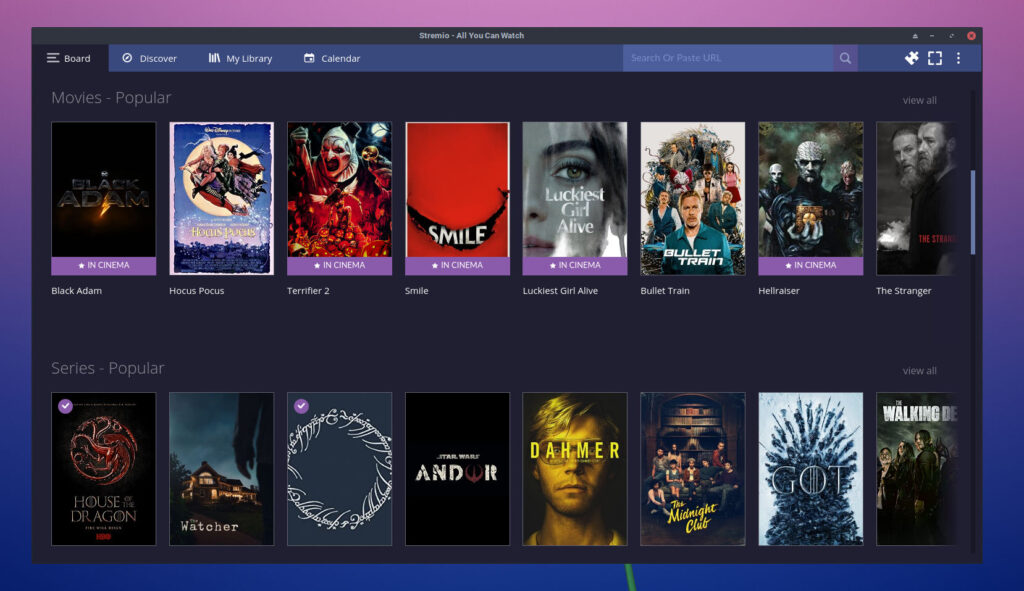
Install Stremio – free Netflix/HBO alternative on MX Linux
Stremio is an application with which you can watch all movies, series, cartoons and everything you need – for free.
Here is the article: How to install Stremio on Linux – free Netflix/HBO GO alternative
Before installing Stremio, pay attention to whether it is allowed in your country and with your internet provider.