How to install Nginx on Ubuntu is a guide to setting up Nginx on new Ubuntu server. Depending on your knowledge, you can apply this guide on a server where you may already have a working site. The only thing that matters is that you know exactly what you need to do and what you want to do.
My previous posts on Ubuntu Server setup are:
- How to install WordPress on Ubuntu server (Apache, SQL)
- How to install Let’s Encrypt on Ubuntu server
- First steps How to secure Ubuntu Server
Note that this guide, like the previous ones, requires you to have basic knowledge about the server, connecting to the server via SSH, and understanding the command line.
What is Nginx?
NGINX is open source software for web serving, reverse proxying, caching, load balancing, media streaming, and more. It started out as a web server designed for maximum performance and stability. In addition to its HTTP server capabilities, NGINX can also function as a proxy server for email (IMAP, POP3, and SMTP) and a reverse proxy and load balancer for HTTP, TCP, and UDP servers.
nginx.com
Ubuntu server combined with Nginx can provide much better results in website speed and enable better server performance.
Instructions for installing Nginx on Ubuntu
Connect to the server via an SSH connection.
Start the update:
apt updateInstall NGINX with:
apt install nginxIn order for NGINX to work properly, you need to set up a firewall as well.
You need to allow NGINX to run in the server’s firewall.
List all applications that UFW can work with:
ufw app listYou should get this result:
$ sudo ufw app list
Available applications:
  Nginx Full
  Nginx HTTP
  Nginx HTTPS
  OpenSSH
To allow NGINX to work in the firewall, do the following:
To approve a profile that works as HTTP run this:
ufw allow 'Nginx HTTP'To approve a profile that works as HTTPS run this:
ufw allow 'Nginx HTTP'To approve a full access run:
ufw allow 'Nginx Full'Verify the change with:
ufw statusYou should get this depending on which profile you chose:
$ sudo ufw status
Status: active

To                         Action      From
--                         ------      ----
OpenSSH                    ALLOW       Anywhere
22/tcp                     DENY        Anywhere
2234/tcp                   ALLOW       Anywhere
Nginx Full                 ALLOW       Anywhere
OpenSSH (v6)               ALLOW       Anywhere (v6)
22/tcp (v6)                DENY        Anywhere (v6)
2234/tcp (v6)              ALLOW       Anywhere (v6)
Nginx Full (v6)            ALLOW       Anywhere (v6)
Verify that NGINX is running:
systemctl status nginxYou should get this:
# systemctl status nginx
● nginx.service - A high performance web server and a reverse proxy server
     Loaded: loaded (/lib/systemd/system/nginx.service; enabled; vendor preset: enabled)
     Active: active (running) since Mon 2022-11-14 17:08:03 EET; 1h 32min ago
       Docs: man:nginx(8)
    Process: 41979 ExecStartPre=/usr/sbin/nginx -t -q -g daemon on; master_process on; (code=exited, status=0/SUCCESS)
    Process: 41980 ExecStart=/usr/sbin/nginx -g daemon on; master_process on; (code=exited, status=0/SUCCESS)
   Main PID: 41981 (nginx)
      Tasks: 2 (limit: 614)
     Memory: 2.9M
     CGroup: /system.slice/nginx.service
             ├─41981 "nginx: master process /usr/sbin/nginx -g daemon on; master_process on;"
             └─41982 "nginx: worker process" "" "" "" "" "" "" "" "" "" "" "" "" "" "" "" "" "" "" "" "" "" "" "" "" "" "" ""

Nov 14 17:08:03 os.rebootos.com systemd[1]: Starting A high performance web server and a reverse proxy server...
Nov 14 17:08:03 os.rebootos.com systemd[1]: Started A high performance web server and a reverse proxy server.
You can also visit the IP address of your server and if Nginx is working properly you will see this page:
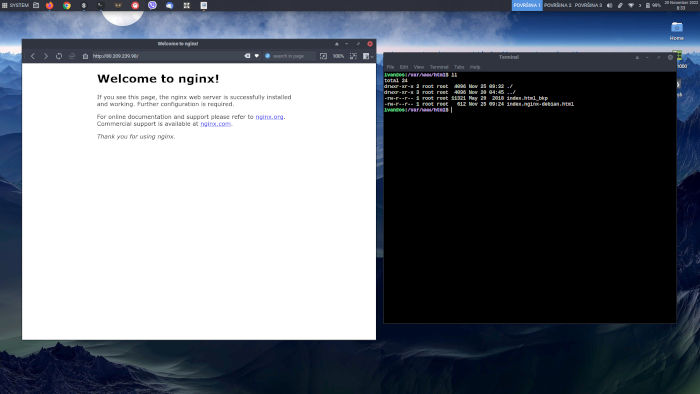
Note: In case you see the default Apache2 page on your IP address, go to this location and rename the default index.html file or delete it:
cd /var/www/html/and rename that file:
sudo mv index.html index.html.bkpNow we will make sure to create a server blocks (similar to virtual hosts in Apache) that will be handy if in the future we plan to have more sites on the Ubuntu server.
Setup Nginx Server Blocks on Ubuntu server
By default, Nginx will run on Ubuntu in this folder /var/www/html.
This is perfectly fine if you will only have one site on the server. However, if you plan to have more domains on the Ubuntu server and more sites (of course), then we need to separate the blocks.
It’s best to leave the default location where it is, which is here: /var/www/html.
We will create a new block here: /var/www/
And it will look like this:
/var/www/siteone/html“siteone” is an example, but you can name that folder as you like.
Create a new folder:
sudo mkdir -p /var/www/siteone/htmlAssign ownership of this folder with:
sudo chown -R $USER:$USER /var/www/siteone/htmlAlso add the correct permissions just in case:
sudo chmod -R 755 /var/www/siteone/Create one index.html file that will serve us for the test:
sudo nano /var/www/siteone/html/index.htmlYou can post content like this:
<html>
    <head>
        <title>Hello and Test - Nginx on Ubuntu</title>
    </head>
    <body>
        <h1>Success! TEST IS OK!</h1>
    </body>
</html>
Save the file and we can move on.
In order for this content to be displayed, we need to create a server blog with directives:
sudo nano /etc/nginx/sites-available/siteoneIn that file we will place the directives, here is how I typed it:
server {
        listen 80;
        listen [::]:80;

        root /var/www/siteone/html;
        index index.html index.htm index.nginx-debian.html;

        server_name os.rebootos.com www.os.rebootos.com;

        location / {
                try_files $uri $uri/ =404;
        }
}
Create a link from it to the sites-enabled directory, which Nginx reads from during startup:
sudo ln -s /etc/nginx/sites-available/siteone /etc/nginx/sites-enabled/Check that the settings are correct and that there are no syntax errors:
sudo nginx -tYou should get it like this:
$sudo nginx -t
nginx: the configuration file /etc/nginx/nginx.conf syntax is ok
nginx: configuration file /etc/nginx/nginx.conf test is successful
Restart Nginx:
sudo systemctl restart nginxGo to the site address, domain, that you have set.
If you see this, it means that Nginx is configured properly:
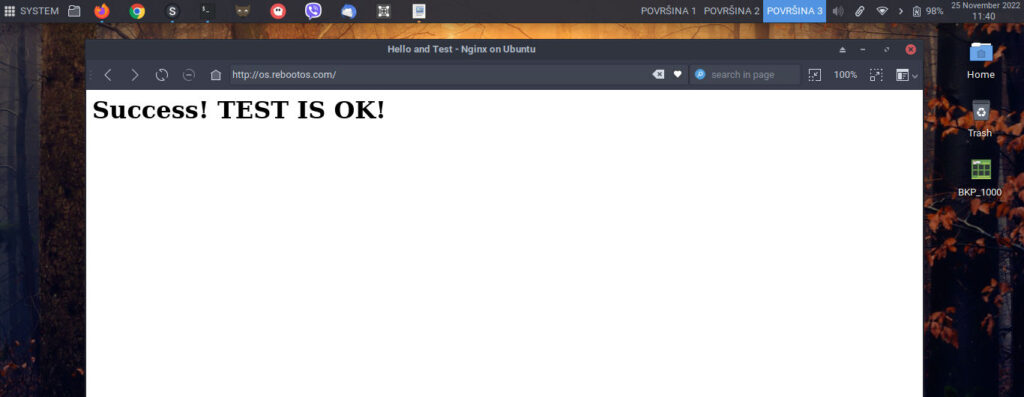
Now you can remove the test index.html (from here /var/www/siteone/html/) and set up your site to run on an Ubuntu server with Nginx.