WordPress CMS can work on your computer. One of the main reasons for this is that in this way you can test WordPress before placing it on the server, or you can do the programming (creating themes, plugins…) and creation in WordPress without investment (FREE) in hosting, domain and accompanying services.
WordPress installed in this way will be fully functional and behave like any other site.
If you need cheap and fair hosting, you can find it here: Hosting for WordPress
To save space and time, WordPress, hereafter in this text we’ll call WP.
The difference between WP installed on the server and WP installed on your computer?
In essence, there is no difference. When you install WP on a server (a regular website) is stored on a server that you rented (or bought). When you install WordPress on your computer it is on your computer.
“When you approach WordPress, which is installed on the server, you type in the browser: www.website.com/directory-example/…
but,
“When you approach WordPress, which is installed on your computer, you type in the browser: http://localhost:29238/directory-example/…”
The key thing is the address. Localhost, in this case, is your computer.
WordPress installation on Windows 10
 WP on Windows 10 operating system can be installed easily. The whole process is automated and all the dependencies are downloaded automatically. This guide (step by step with pictures) explains the whole installation process without any action on the editing the site, themes, and extensions.
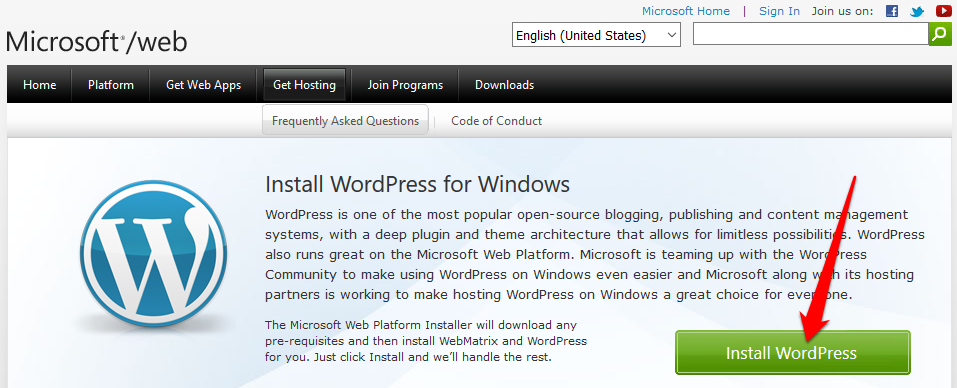
Step 1: Download WordPress package for Windows – WordPress for Windows
Go to this page: https://go.microsoft.com/fwlink/?LinkID=286266
Click on the button Install WordPress. Save the package that will be offered.
Step 2: Start the installation of WordPress
Click twice on the package that you just downloaded.
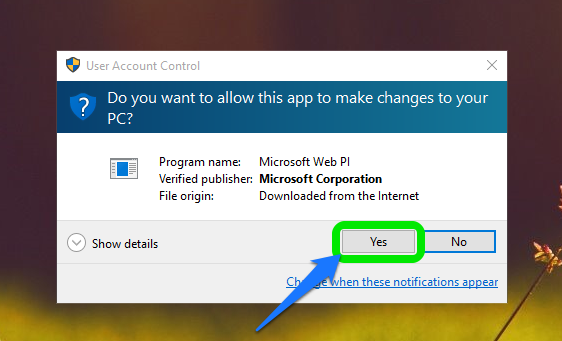
Allow this app to make changes to your PC, click on Yes (this is standard procedure when installing programs on Windows):
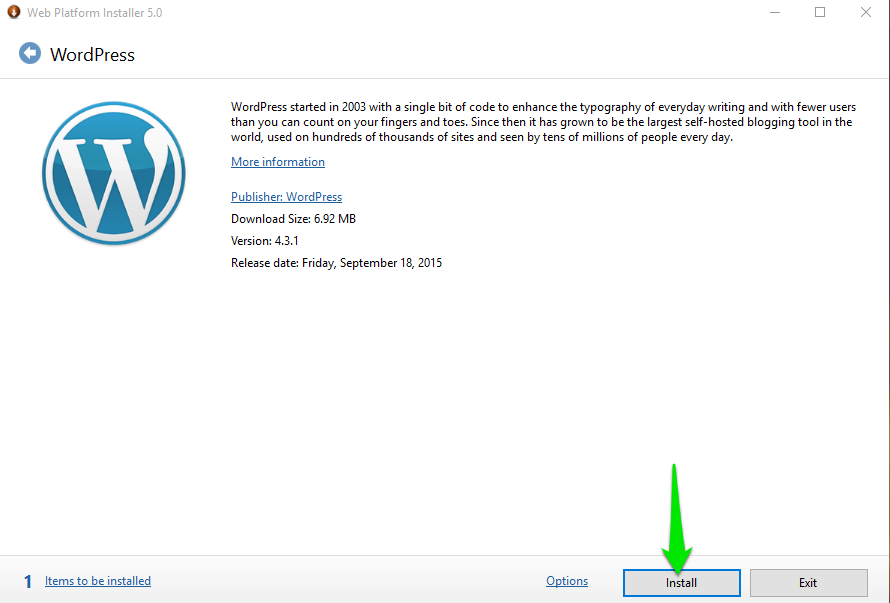
In the window that opens (as in the picture beneath), click Install:
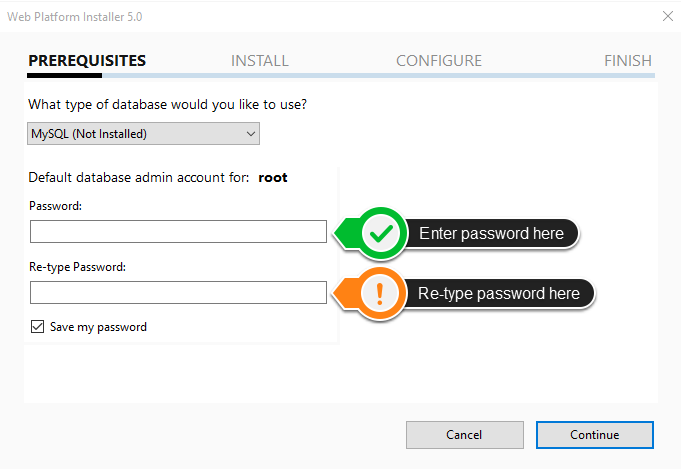
Step 3: Define your database and password
Here you can select the database (if you are already on your computer). If the computer does not have a database installed, leave the default option on What type of database would you like to use? field (It will automatically install MySQL).
Enter the new password, re-type and remember your password (or write it down somewhere)!
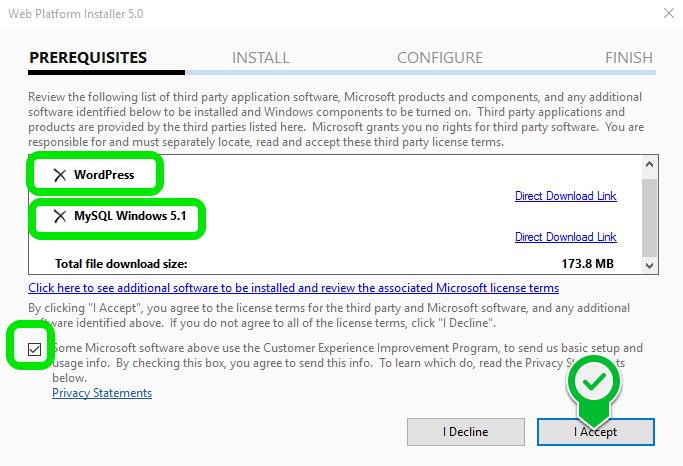
Step 4: Prerequisites for WordPress on Windows 10
Here you will be shown what the application has to be installed. Check the box to agree to the terms (if you agree) and click I Accept to to continue.
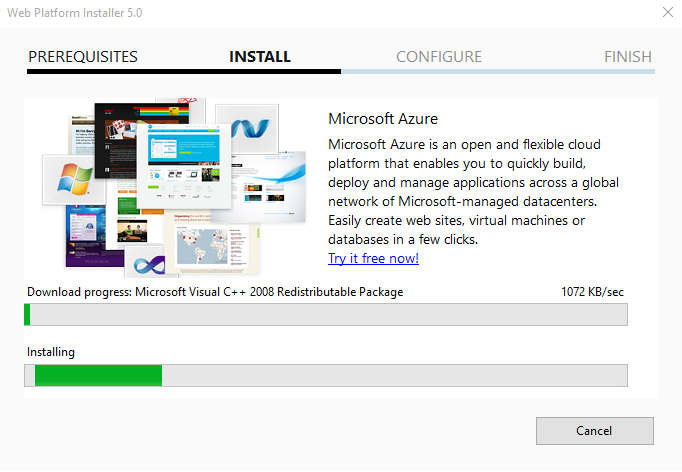
Step 5: Installation of dependencies
The application will install all required dependencies automatically. It may take several minutes depending on the speed of your internet.
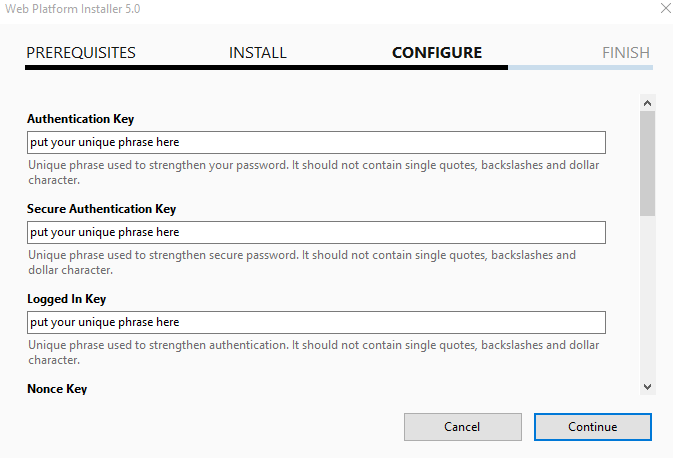
Step 6: Configure
In each of these fields, enter a unique phrase that will ensure the strength of your protection with authentication. Do not use single quotes, backlashes and dollar character. When you finish, click on Continue.
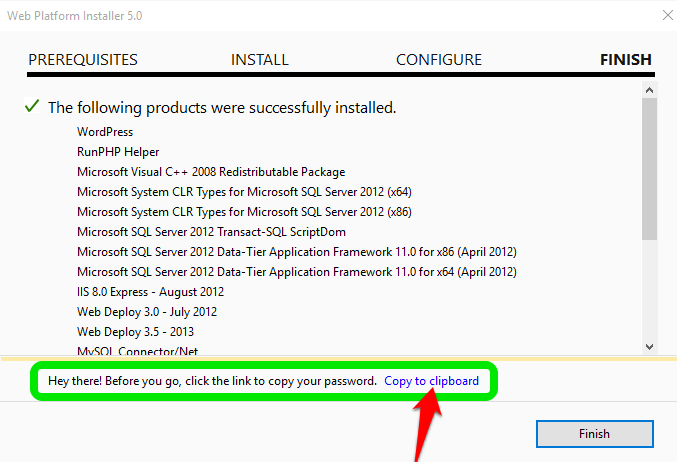
Step 7: Finish
Here you can see applications that are installed. To copy data about the database click on Copy to clipboard. Open Notepad and paste it. Save the text document somewhere. Click on Finish.
Step 8: Finish WordPress installation in your browser
The installation process will launch your browser to be the complete installation of WP. It looks just like the picture below. Approved language and click on Continue.

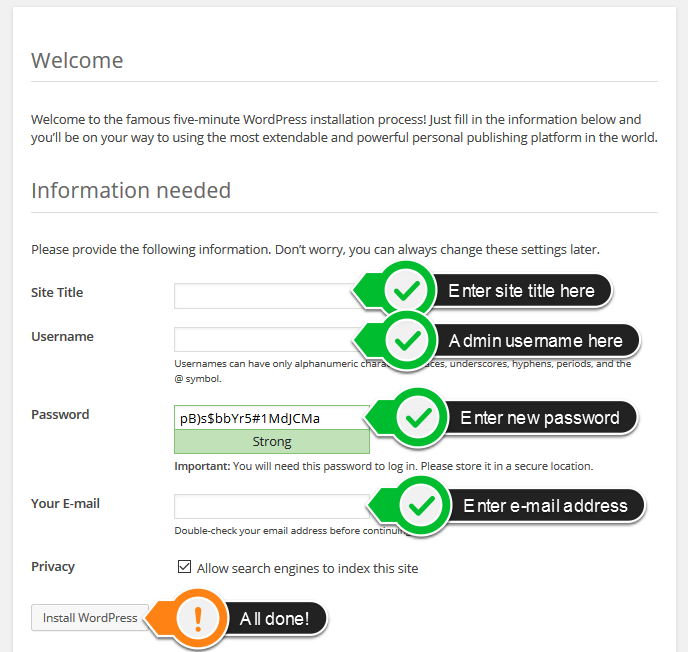
Step 9: Basic site and user info
One more minute and it’ll be over. 🙂
- Enter the title of the site (may be changed later).
- Enter the name of the administrator, it is necessary for login to WP (double check and write somewhere aside).
- Enter a password for the administrator (double check and write somewhere aside).
- Enter an email address for the administrator (also double check).
- Click on the Install WordPress to finish everything we started.
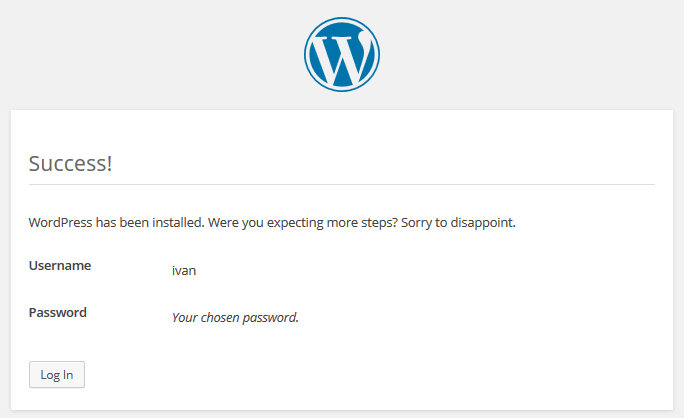
If you see a message like on the picture below that means you have successfully installed WordPress. Click on the Log In to log in into WP dashboard.
10. Test & WordPress Dashboard
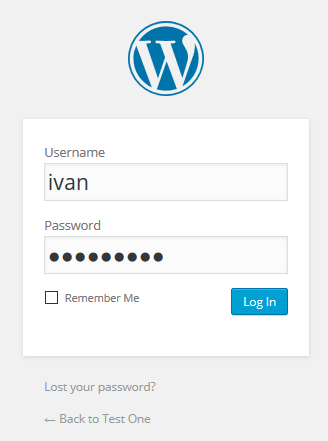
When you click on the Log In (picture above) you’ll see a login form on the WordPress dashboard. Enter the information you specified (username and password) in step 9 to login to the WP Dashboard.
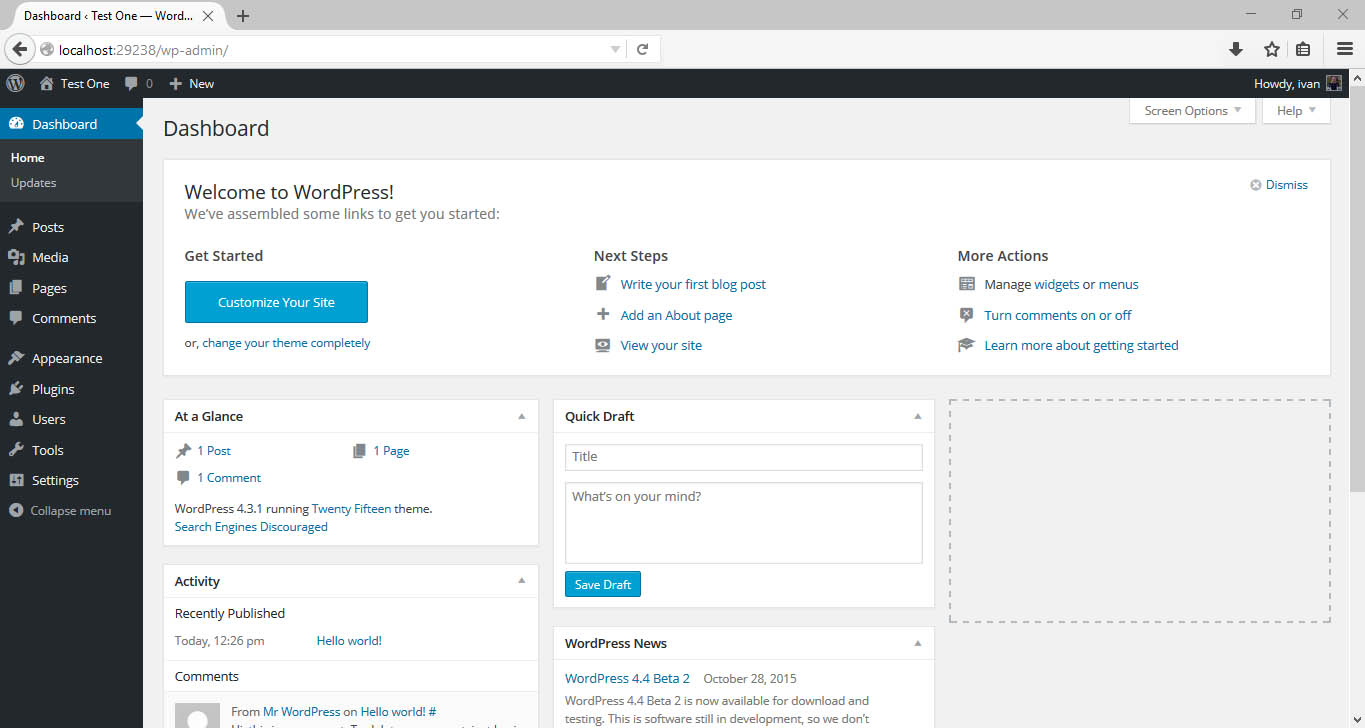
 When you click on the Log In, you will be forwarded to the control panel:
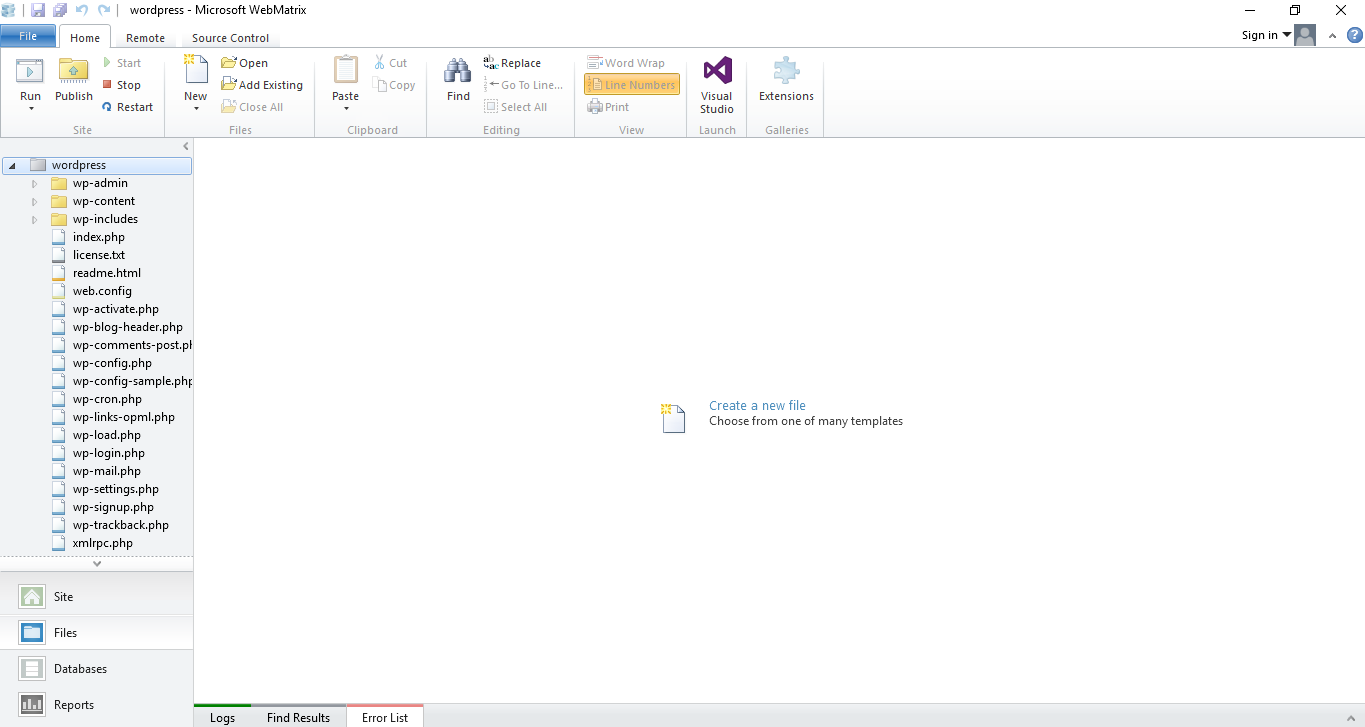
Important – Microsoft WebMatrix
Every time you want to start WordPress, first you have to start a Microsoft WebMatrix. This is a program installed in the process that is described in this text. So first start a program Microsoft WebMatrix, and then Reload the address locally-installed WordPress.