Retouching photos is manipulation of photography in order to obtain the desired effect, improve the visibility of target and reduce the visibility of unwanted detail. In this procedure, there is no standard. The aim is to send a high-quality, clearly recognizable and appealing message.
For retouching can be used any software for image processing, which has options for editing and exporting products in a specified format. Some of the best-known are:
- Adobe Photoshop
- GIMP
- Krita
What’s on this page? Retouch facial photos
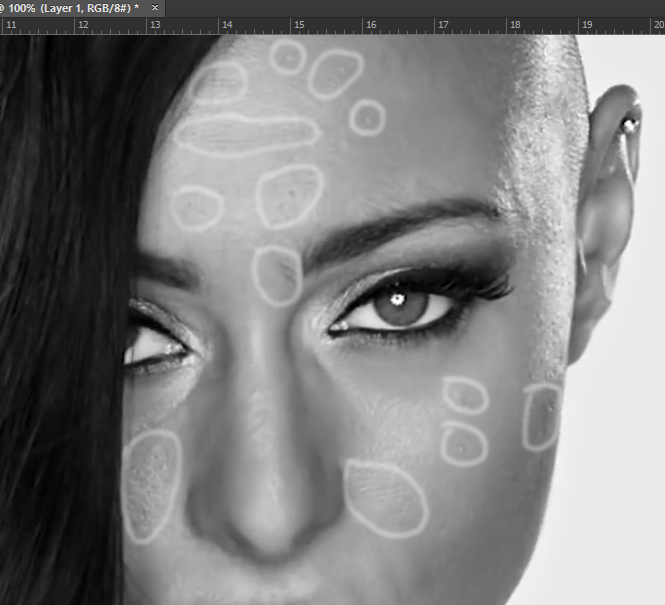
In the example below we have a picture of a girl. From her face should be removed every irregularity and details that stand out. For this procedure, you do not need previous knowledge in the field of image processing but the result that you will eventually get is comparable to the images that you see on websites or magazines.
[symple_box color=”blue” fade_in=”false” float=”center” text_align=”left” width=””]This guide is useful for Photoshop. Grey cover of relationships and details of tools relate to Photoshop [/symple_box]
Tip: An exaggeration in any direction always leads to opposites
The best photographers use tools for image processing, and it is no secret. All of them use photo-manipulation to get the best results. Experienced photographers are trying to use Photoshop (or other tool) in the smallest possible way. They use it to fine details and irregularities that are unavoidable by adjusting the lights or makeup. There are also details such as wrinkles, spots and character skins.
Overdoing the beautification, cleaning and changes can lead to extreme bad taste and kitsch. Plastic faces is for dolls. Living beings have wrinkles, pores and imperfections that in conjunction with other lines give the results and unique beauty.
Keep this in mind when you start retouching.
Cleaning the face in Photoshop
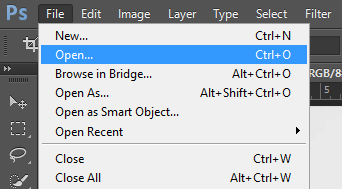
Start Photoshop and open the image you want to edit. Go to File-Open or simultaneously press the Ctrl + O. In an open window, find the image, select it and open by clicking the appropriate button.
 What matters is the quality of the image. What is the quality of higher it is easier to do and implement manipulation of any kind.

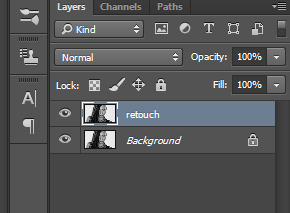
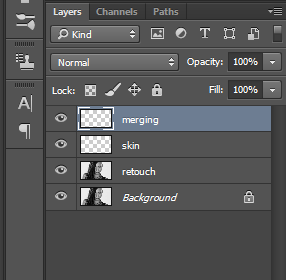
Once, when the difference is open and saw a modest press Ctrl + J to duplicate the original photo (never making changes to the original, always copy). Call it a name that will remind you of what you do with it – “retouch”. Double-click on the default name Layer (Layer “some number”) and type in a new name.
On this layer, should make adjustments details. It does not matter if it wrinkles, pimples, changed skin color or tiny light irregularities. Any errors should be cleared to an extent that does not distort the nature of the face.
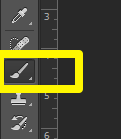
 For this purpose you can use a Spot Healing Brush Tool and Healing Brush Tool.
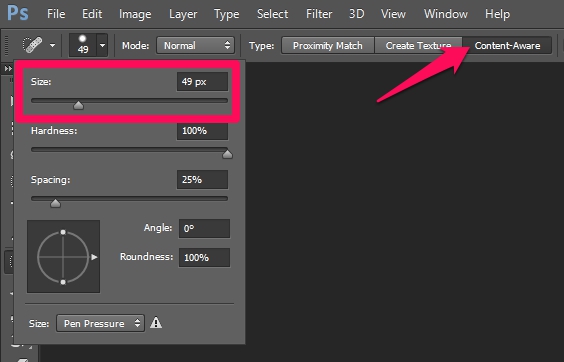
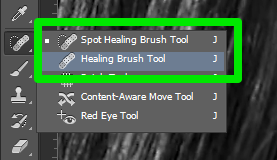 For small dots and thin lines is best (and easiest) use the Spot Healing Brush Tool. Adjust the size of the brush (picture below) so that it is only slightly larger than the detail (for removing) and click on it.
 From the amount of detail that will be removed depends the time that will be invested into this work. What better and more carefully perform this cleaning, the results will be better. For dots click to remove, for wrinkles and lines hold the mouse button and drag the length.
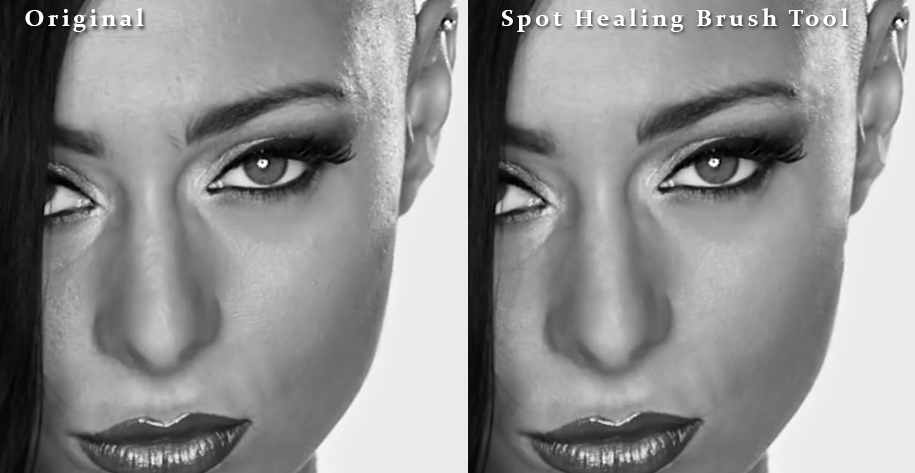
Original photo and after use Spot Healing Brush tool can be seen below. Do not overdo it.
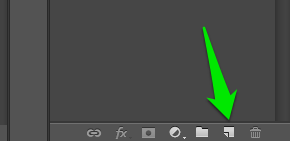
If you are finished with the corrections, add a new layer by clicking on the New Layer button or key combination Shift + Ctrl + N.
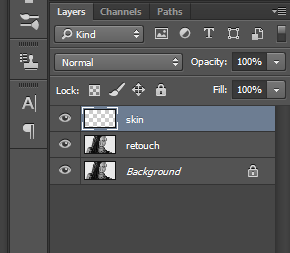
 The new layer can be called the “skin” or a name that will remind you of what you will do.
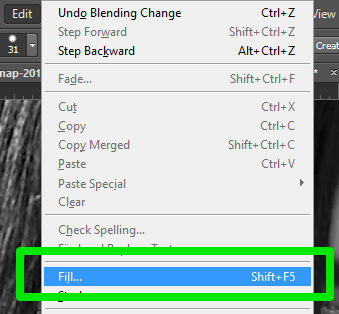
Select the layer you just made and go to Edit-Fill …
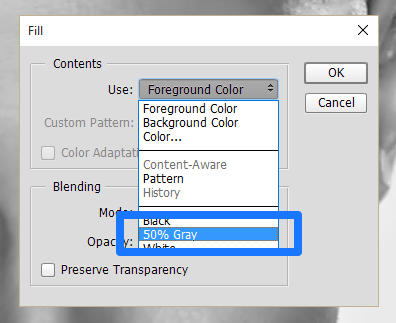
In the window that opens, select 50% Gray, then click OK.
 Above the list of layers there is a field for selecting and placing Blendig Mod’s. Click on it and in the drop down menu, select Overlay.
 Zoom in image at 200 or 300 or 400% using the zoom tool.
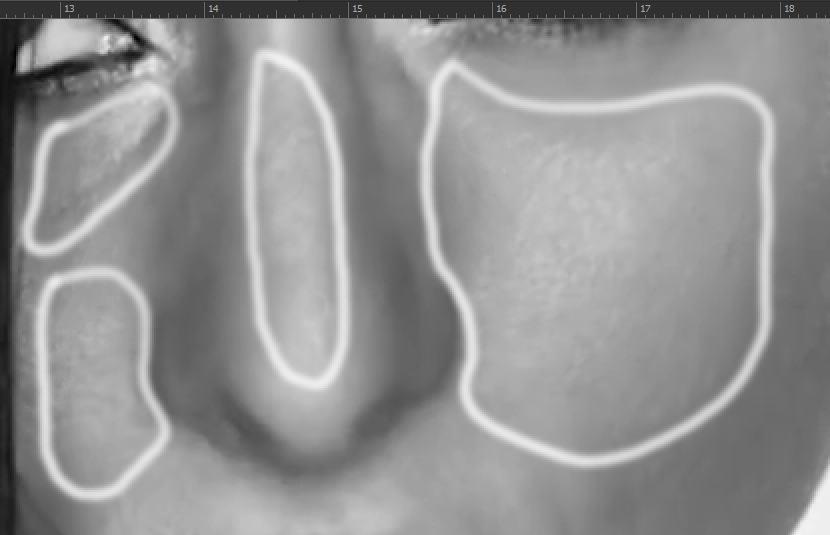
 Do you see the details of which are manifested as bright and dark spots grouped alternately? These are the pores of the skin and must be reduced.
To reduce light and dark spots use Dodge and Burn Tool.
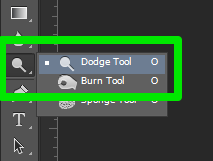 Select the first Dodge Tool and should treat dark spots and regions with the following settings:
- Range: Midtones
- Exposure: 4%


Select brush size as needed. With the same settings, use the Burn Tool and should treat the highlights. Use these two tools alternately and gradually to blend dark and light regions.
Create a new layer with the key combination Shift + Ctrl + N. Call it the “merging” because now we do merging all parts that stand out – stand out from its surroundings.
Select the Brush Tool:
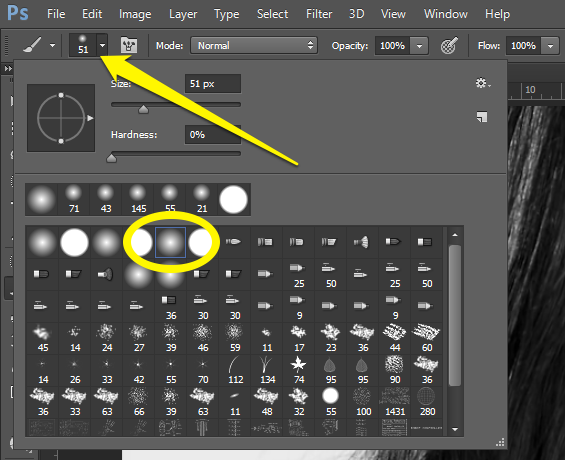
 Choose brush. Choose one of the Soft Round brush.
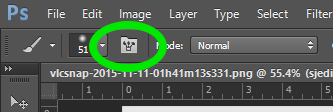
 If you have a professional tablet and drawing pencil, click on the icon Toggle the brush panel:
 Select Transfer in the section Brush Tip Shape and under the Control option set PenPressure.
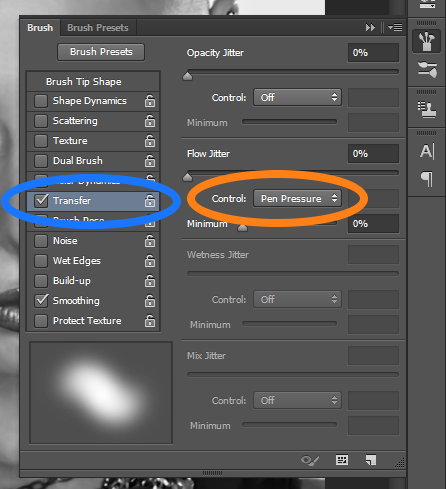
If you use the mouse for this work experiments with the option Opacity (picture below). Try a few levels, but you can try it first with 35%.

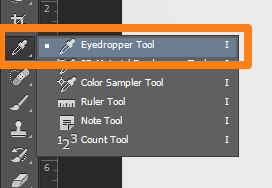
Select the Eyedropper tool and with the help of this tool selects the color from the face. First, choose a color that dominates a particular area. It is sufficient to click on that area.
After selecting a color, select the Brush Tool (with settings that I listed above), and gently shade the part (for example: the brightest part of the head)with a color that otherwise dominates in it. The goal is to fill the same color over imperfections caused by bad light or texture of the skin. Do not overdo. Try to look as subtle and natural.
Pen with a graphic panel is more useful codes of detail since the amount of the selected color is applied depending on the pressure on the board (pen registers pressure levels), while the mouse paint is applied with an intake of 100% and therefore should be corrected opacity in the way mentioned above in the text.

Result
Here’s a comparison of the original image and the image processed in Photoshop in a way that is described in this guide:
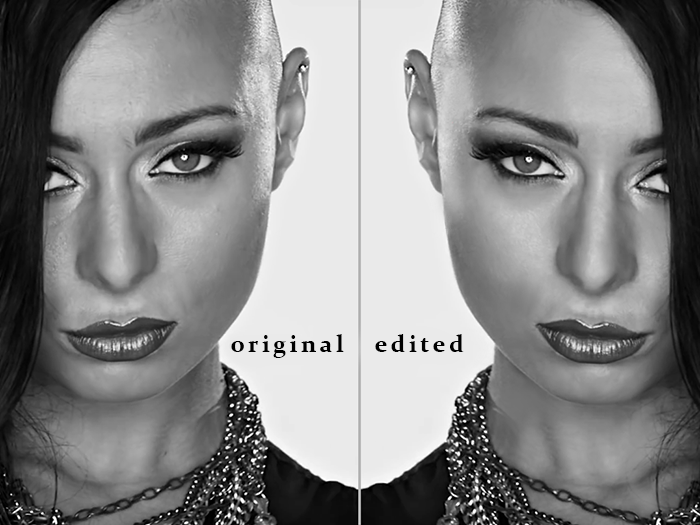
My personal view is that we should not go too far away from the existing natural and – true. The contours and shades, dark and light, bitter and sweet make a complete experience unique and original. Interference over health measures creates the risk that the harmony achieved will be undermined, and the uniqueness converted into a template. Then everything loses meaning. Beware of such measures.
